
Common Mistakes by Beginner Food Gardeners
Gardening is a rewarding and enjoyable hobby that can provide a sense of fulfillment, relaxation, and fresh produce. It is also a great way to connect with nature and reduce stress. However, for beginners, starting a food garden can be a daunting task, especially if they are not familiar with the essential practices and common mistakes that can hamper the success of their efforts. In this article, we will discuss some of the common mistakes made by beginner food gardeners and how to avoid them.
Gardening is a rewarding and enjoyable hobby that can provide a sense of fulfillment, relaxation, and fresh produce. It is also a great way to connect with nature and reduce stress. However, for beginners, starting a food garden can be a daunting task, especially if they are not familiar with the essential practices and common mistakes that can hamper the success of their efforts. In this article, we will discuss some of the common mistakes made by beginner food gardeners and how to avoid them.
Not choosing the right location
One of the most common mistakes that beginner food gardeners make is choosing the wrong location for their garden. It is essential to select a spot that receives at least six hours of sunlight daily and has good soil drainage. Many novice gardeners make the mistake of planting their garden in a shaded area or a place where the soil is poor, and the plants cannot thrive. To avoid this mistake, gardeners should assess their outdoor space and identify an area that is sunny, well-drained, and has access to water.
Overcrowding the garden
Another common mistake that novice gardeners make is planting too many vegetables in their garden. This can result in overcrowding, which can lead to a lack of nutrients and water for the plants, as well as increased susceptibility to diseases and pests. To avoid overcrowding, gardeners should plan their garden carefully and make sure to provide enough space between plants for adequate growth and airflow. They should also consider the size of the plants when they are fully grown and avoid planting them too close together.
Not preparing the soil properly
Preparing the soil is crucial for the success of a food garden. Novice gardeners often make the mistake of not preparing the soil adequately before planting. Our Transformational Gardening method avoids this problem entirely by teaching our gardeners to use 100% microbe-rich compost instead of conventional soil. Preparing food garden soil conventionally can be difficult and time consuming for beginners depending on which method is used. It can also be confusing since there are so many methods and so many brands of bagged soils sold at garden centers. Most of these commercial bags don’t have the correct ingredients for a truly successful garden year after year. But, if you do have a bed filled with conventional soil you can amend it with our microbe-rich compost and worm castings.
Follow the No Till, No Dig, No Pull rule. Never extensively till or dig your soil as is recommended by conventional gardening books and teachers. Tilling the soil destroys the wonderful structures created by our soil microbes to be healthy and expand their populations. Conventional soil that is too compacted or too sandy can prevent plants from growing properly, leading to stunted growth and poor yields. But the extensive and constant tilling, digging and mixing compost into soil to improve its texture and nutrient content just makes the problem worse. Review our Transformational Gardening method to learn the correct way to prepare soil.
Planting at the wrong time
Another common mistake made by beginner food gardeners is planting their crops at the wrong time of year. Each plant has a specific growing season, and planting outside of that time can lead to poor growth and low yields. To avoid this mistake, gardeners should research the ideal planting times for each crop they wish to grow and plant accordingly. They should also consider their local climate and weather patterns when planning their planting schedule. Read our climate zone and planting calendar posts. Also read our post about frost protection when you plant each in the spring.
Over or under-watering
Watering is critical for plant growth, but novice gardeners often make the mistake of over or under-watering their plants. Over-watering can lead to root rot and other water-related diseases, while under-watering can cause plants to wilt and die. To avoid these problems, gardeners should water their plants consistently and deeply, providing enough water to reach the roots without creating standing water. They should also adjust their watering schedule according to the weather conditions, with more frequent watering during hot and dry periods. Read our blog post on Deep Watering.
Failing to control pests and diseases
Pests and diseases are a common problem in food gardens, and novice gardeners often fail to take the necessary steps to control them. They may not recognize the signs of an infestation or may not know how to treat it effectively. To prevent pests and diseases, gardeners should monitor their plants regularly, looking for any signs of damage or disease. They should also practice good garden hygiene, removing any dead or diseased plants, and keeping the garden free of debris that can attract pests. Also sterilize your gardening tools with dilute bleach (1:10). Finally, they should research natural pest control methods or use organic pesticides, rather than relying on harsh chemicals that can harm the environment. Read our blog post on Environmental Pest Management.
About fertilizing
The Best Way to Feed Your Plants—Naturally and Effortlessly
Many beginner gardeners struggle with fertilizing—what to use, how much, and when to apply it. Conventional gardening methods make fertilizing a complicated guessing game, with endless choices of synthetic and organic fertilizers, each requiring precise timing and application to avoid harming plants.
With Transformational Gardening, you can forget the fertilizer charts, measuring cups, and constant adjustments. Instead, we take a completely different approach—one that works with nature, not against it.
The Secret to Healthy, Thriving Plants
The key to our method is microbe- and nutrient-rich compost and microbe-rich worm castings. These natural fertilizers provide everything your plants need to grow strong and healthy—without the risk of burning roots, throwing off soil balance, or harming the environment.
Instead of trying to micromanage soil nutrients with conventional fertilizers, simply add fresh compost and worm castings. Our method ensures a steady, natural nutrient supply that supports soil microbes, improves plant immunity, and promotes deep, resilient root systems.
Why Our Method is Easier and More Effective
1. No Guesswork or Complicated Schedules
Conventional gardening requires precise fertilization at different plant stages. With Transformational Gardening, our compost and worm castings naturally provide a season-long nutrient supply—no need for constant adjustments.
2. Stronger, More Resilient Plants
The beneficial microbes in our compost and worm castings help plants absorb nutrients more efficiently, reducing the risk of deficiencies or imbalances. This means better growth, deeper roots, and greater resistance to disease and pests.
3. No Risk of Over-Fertilizing
Traditional fertilizers can burn plants if applied incorrectly. Our natural fertilizers are gentle, safe, and impossible to overuse. The more you add, the better your soil becomes over time.
4. Healthier Soil, Year After Year
Unlike synthetic fertilizers, which degrade soil quality over time, our compost-based method builds soil fertility, ensuring that your garden improves with each season.
How to Feed Your Garden the Right Way
Forget synthetic fertilizers, chemical soil tests, and complicated feeding schedules. Just follow these simple steps:
• Replenish your soil with worm castings and fresh compost at the start of each growing season.
• Add more compost and worm castings mid-season for an extra nutrient boost.
• Use gentle, natural supplements like fish emulsion for an occasional fast-acting boost, if needed.
• Let microbes do the work—they ensure your plants get what they need, when they need it.
For more details on using this method effectively, check out these blog posts:
By following Transformational Gardening, you’re not just feeding your plants—you’re creating a self-sustaining, thriving ecosystem that will reward you with stronger, healthier crops year after year, with less work.
Happy Gardening!
By following the Deep Roots Project’s transformational gardening methods through the seasons, you will create a thriving, nutrient-rich garden that supports both your plants and the soil. See the full list of our Grow Your Own Food blog posts. Each post is assigned ”tags” which are under the post title.
Deep Roots online store
See our online store for details about prices, ordering and delivery of raised beds, planter boxes, microbe-rich compost, worm castings, leaf mulch and more. We don’t sell traditional soil, since we use 100% compost as our growing medium. Our online store has 2 sections – (1) raised beds and planter boxes and (2) compost, worm castings, fertilizer.
Please contact our customer support team before placing an order online so we can assist you with the details and answer your gardening questions. You can pay by credit card in the store or by check.
(708) 655-5299 and support[at]deep-roots-project.org
Please leave your cell phone number when you sign up for our eNewsletter, if you want text message announcements now and then.
Donations help us provide organic kitchen gardening education to individuals, organizations, and entire communities. Thank you in advance for contributing to our community and for sharing our website and blog with friends and family.

Growing Ornamental Plants with Deep Roots High-Nutrient Compost
Deep Roots Project microbe-rich and nutrient-rich compost is the foundation of our transformational gardening method. But, when it comes to ornamentals, some ornamentals do not like our compost. Read this blog post for details.
Deep Roots Project microbe-rich and nutrient-rich compost is the foundation of our transformational gardening method. But, when it comes to ornamentals, some ornamentals do not like our compost. Read this blog post for details.
Some ornamentals don’t like rich compost
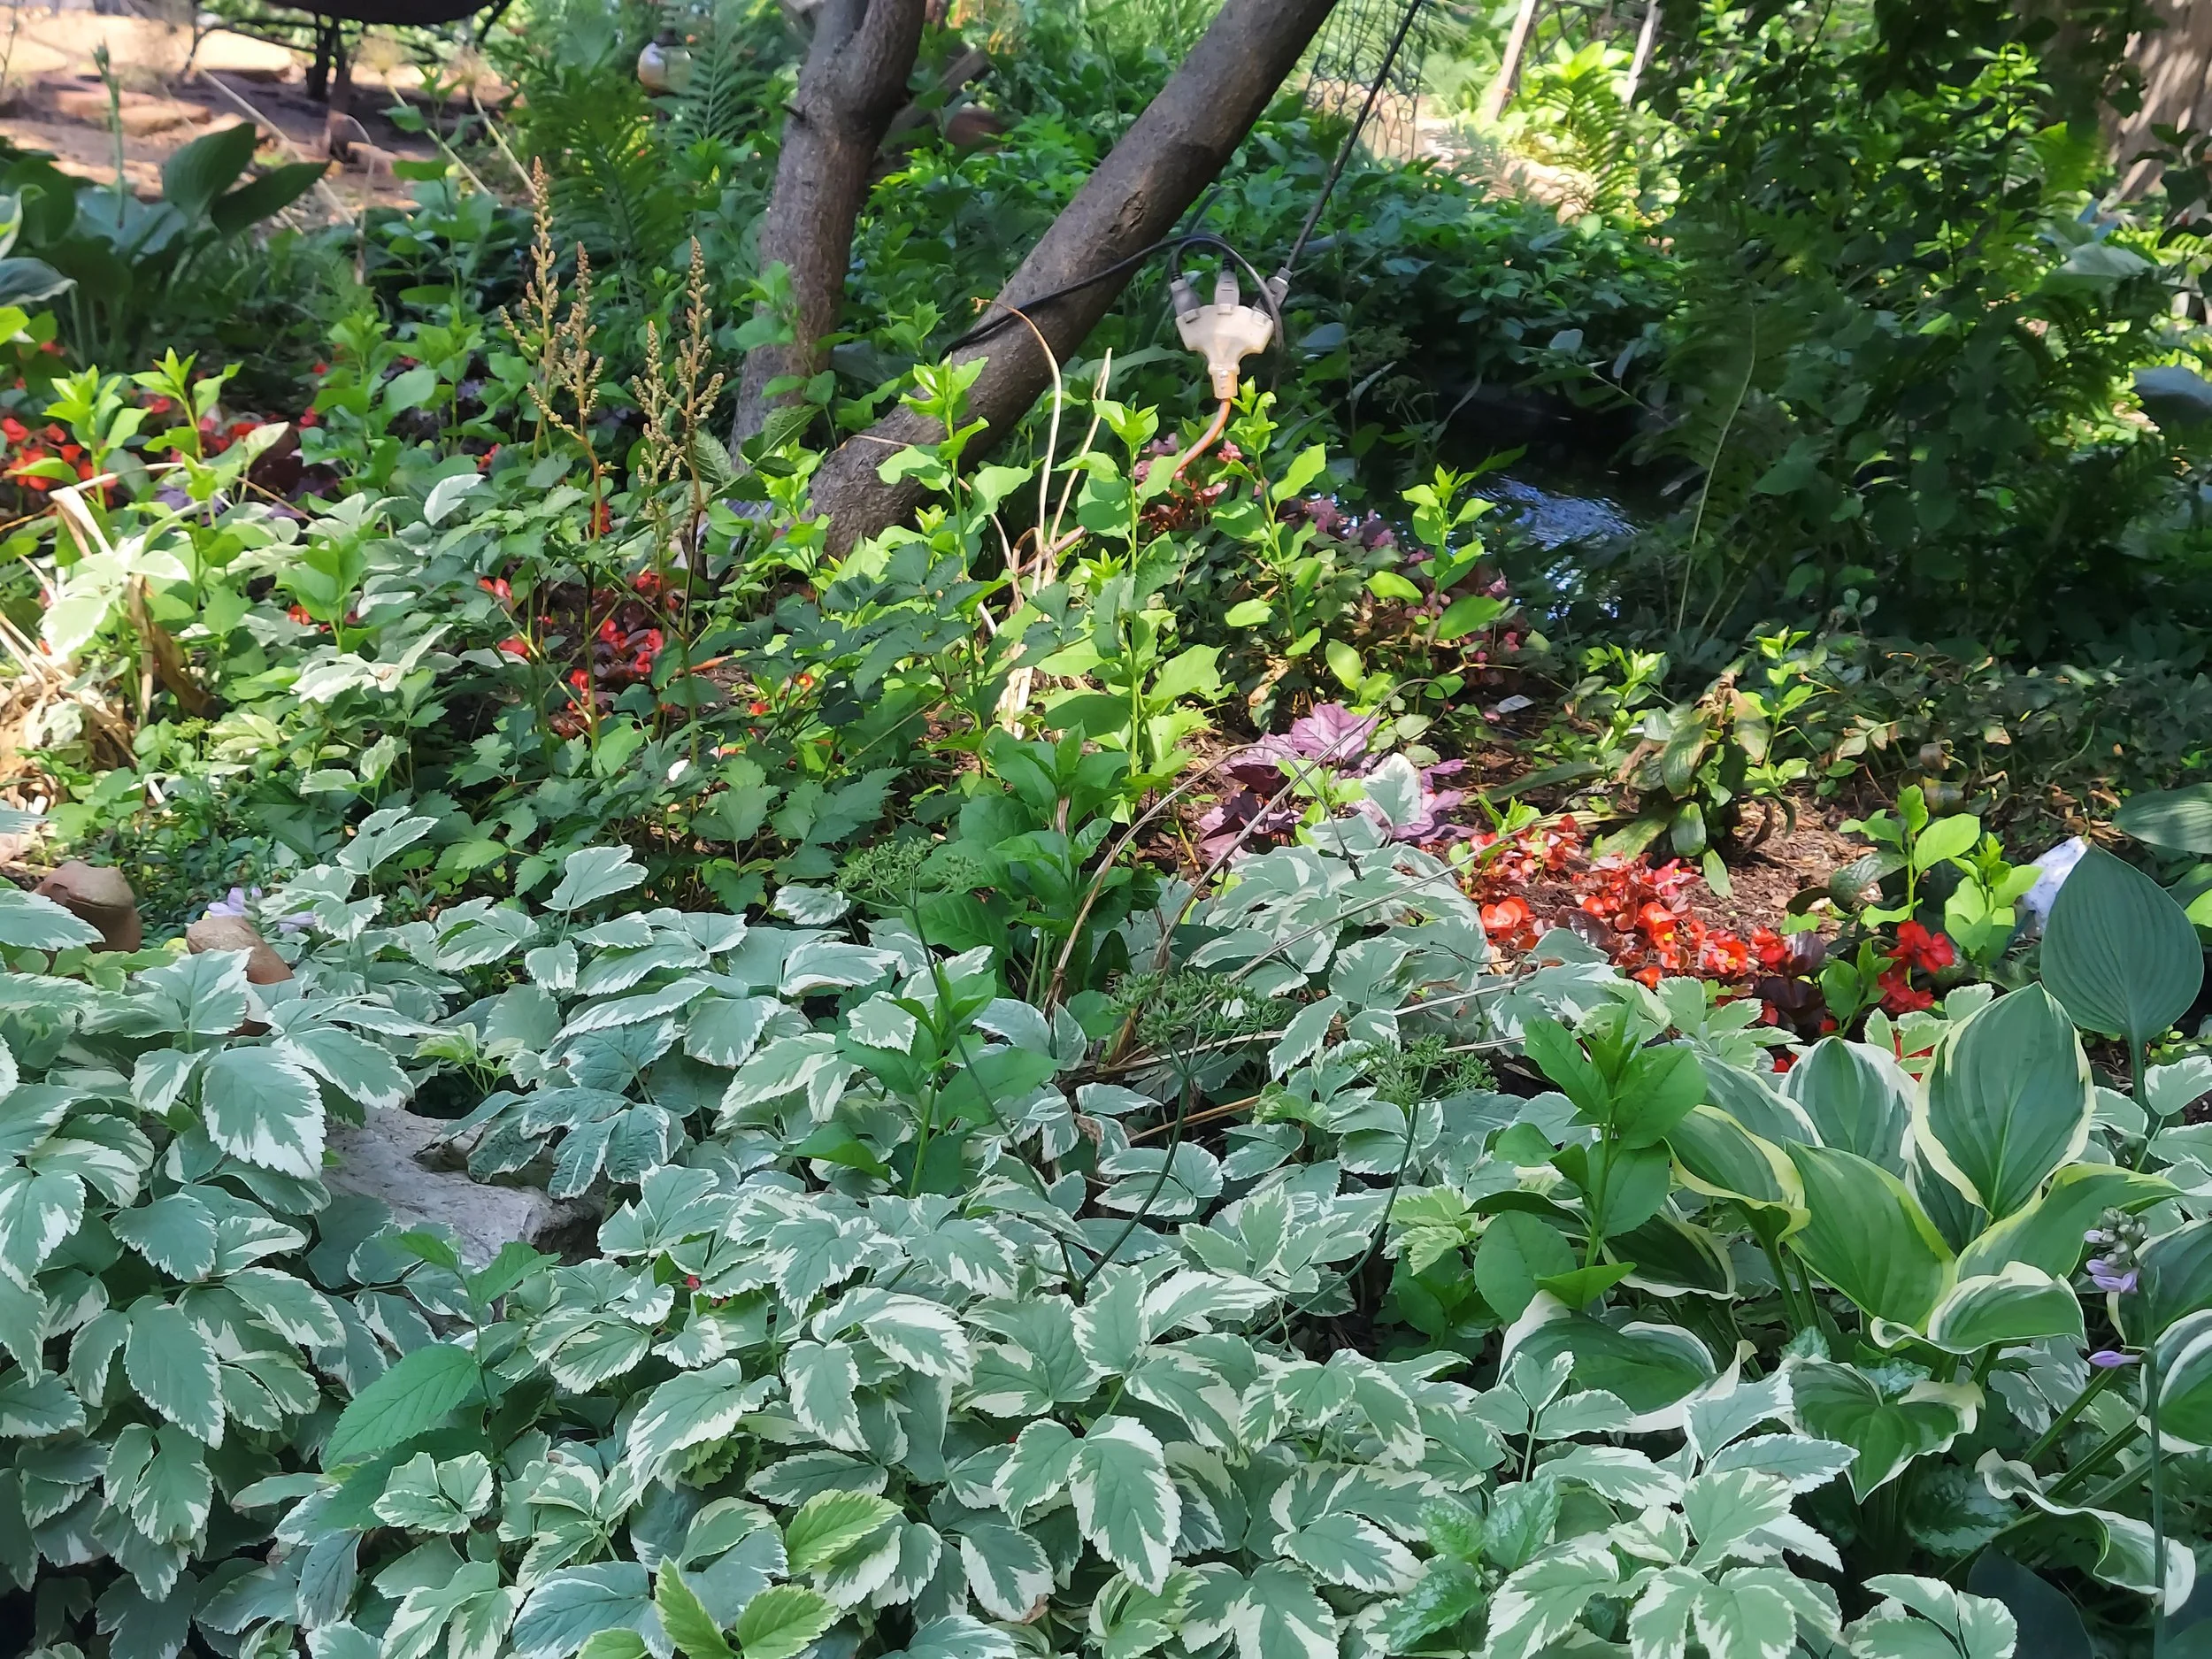
At Deep Roots Project, our mission is to empower gardeners to grow vibrant, healthy edible plants using 100% microbe-rich and nutrient-rich compost. While many know us for supporting food gardening, our compost is equally transformative for many ornamental gardens. Whether you’re cultivating colorful flowers, native plants, or decorative plants and shrubs, incorporating our premium compost can help you achieve lush, thriving landscapes.
Use compost for food & most ornamentals
Ornamental plants, like edibles, depend on healthy soil to flourish. Our compost:
• Improves soil structure, making it easier for roots to penetrate and access nutrients.
• Boosts water retention, reducing the need for frequent watering.
• Increases disease resistance, thanks to beneficial microbes that suppress pathogens.
• Provides a slow, steady release of essential nutrients, creating ideal conditions for blooms and foliage.
Ornamentals that thrive with our compost
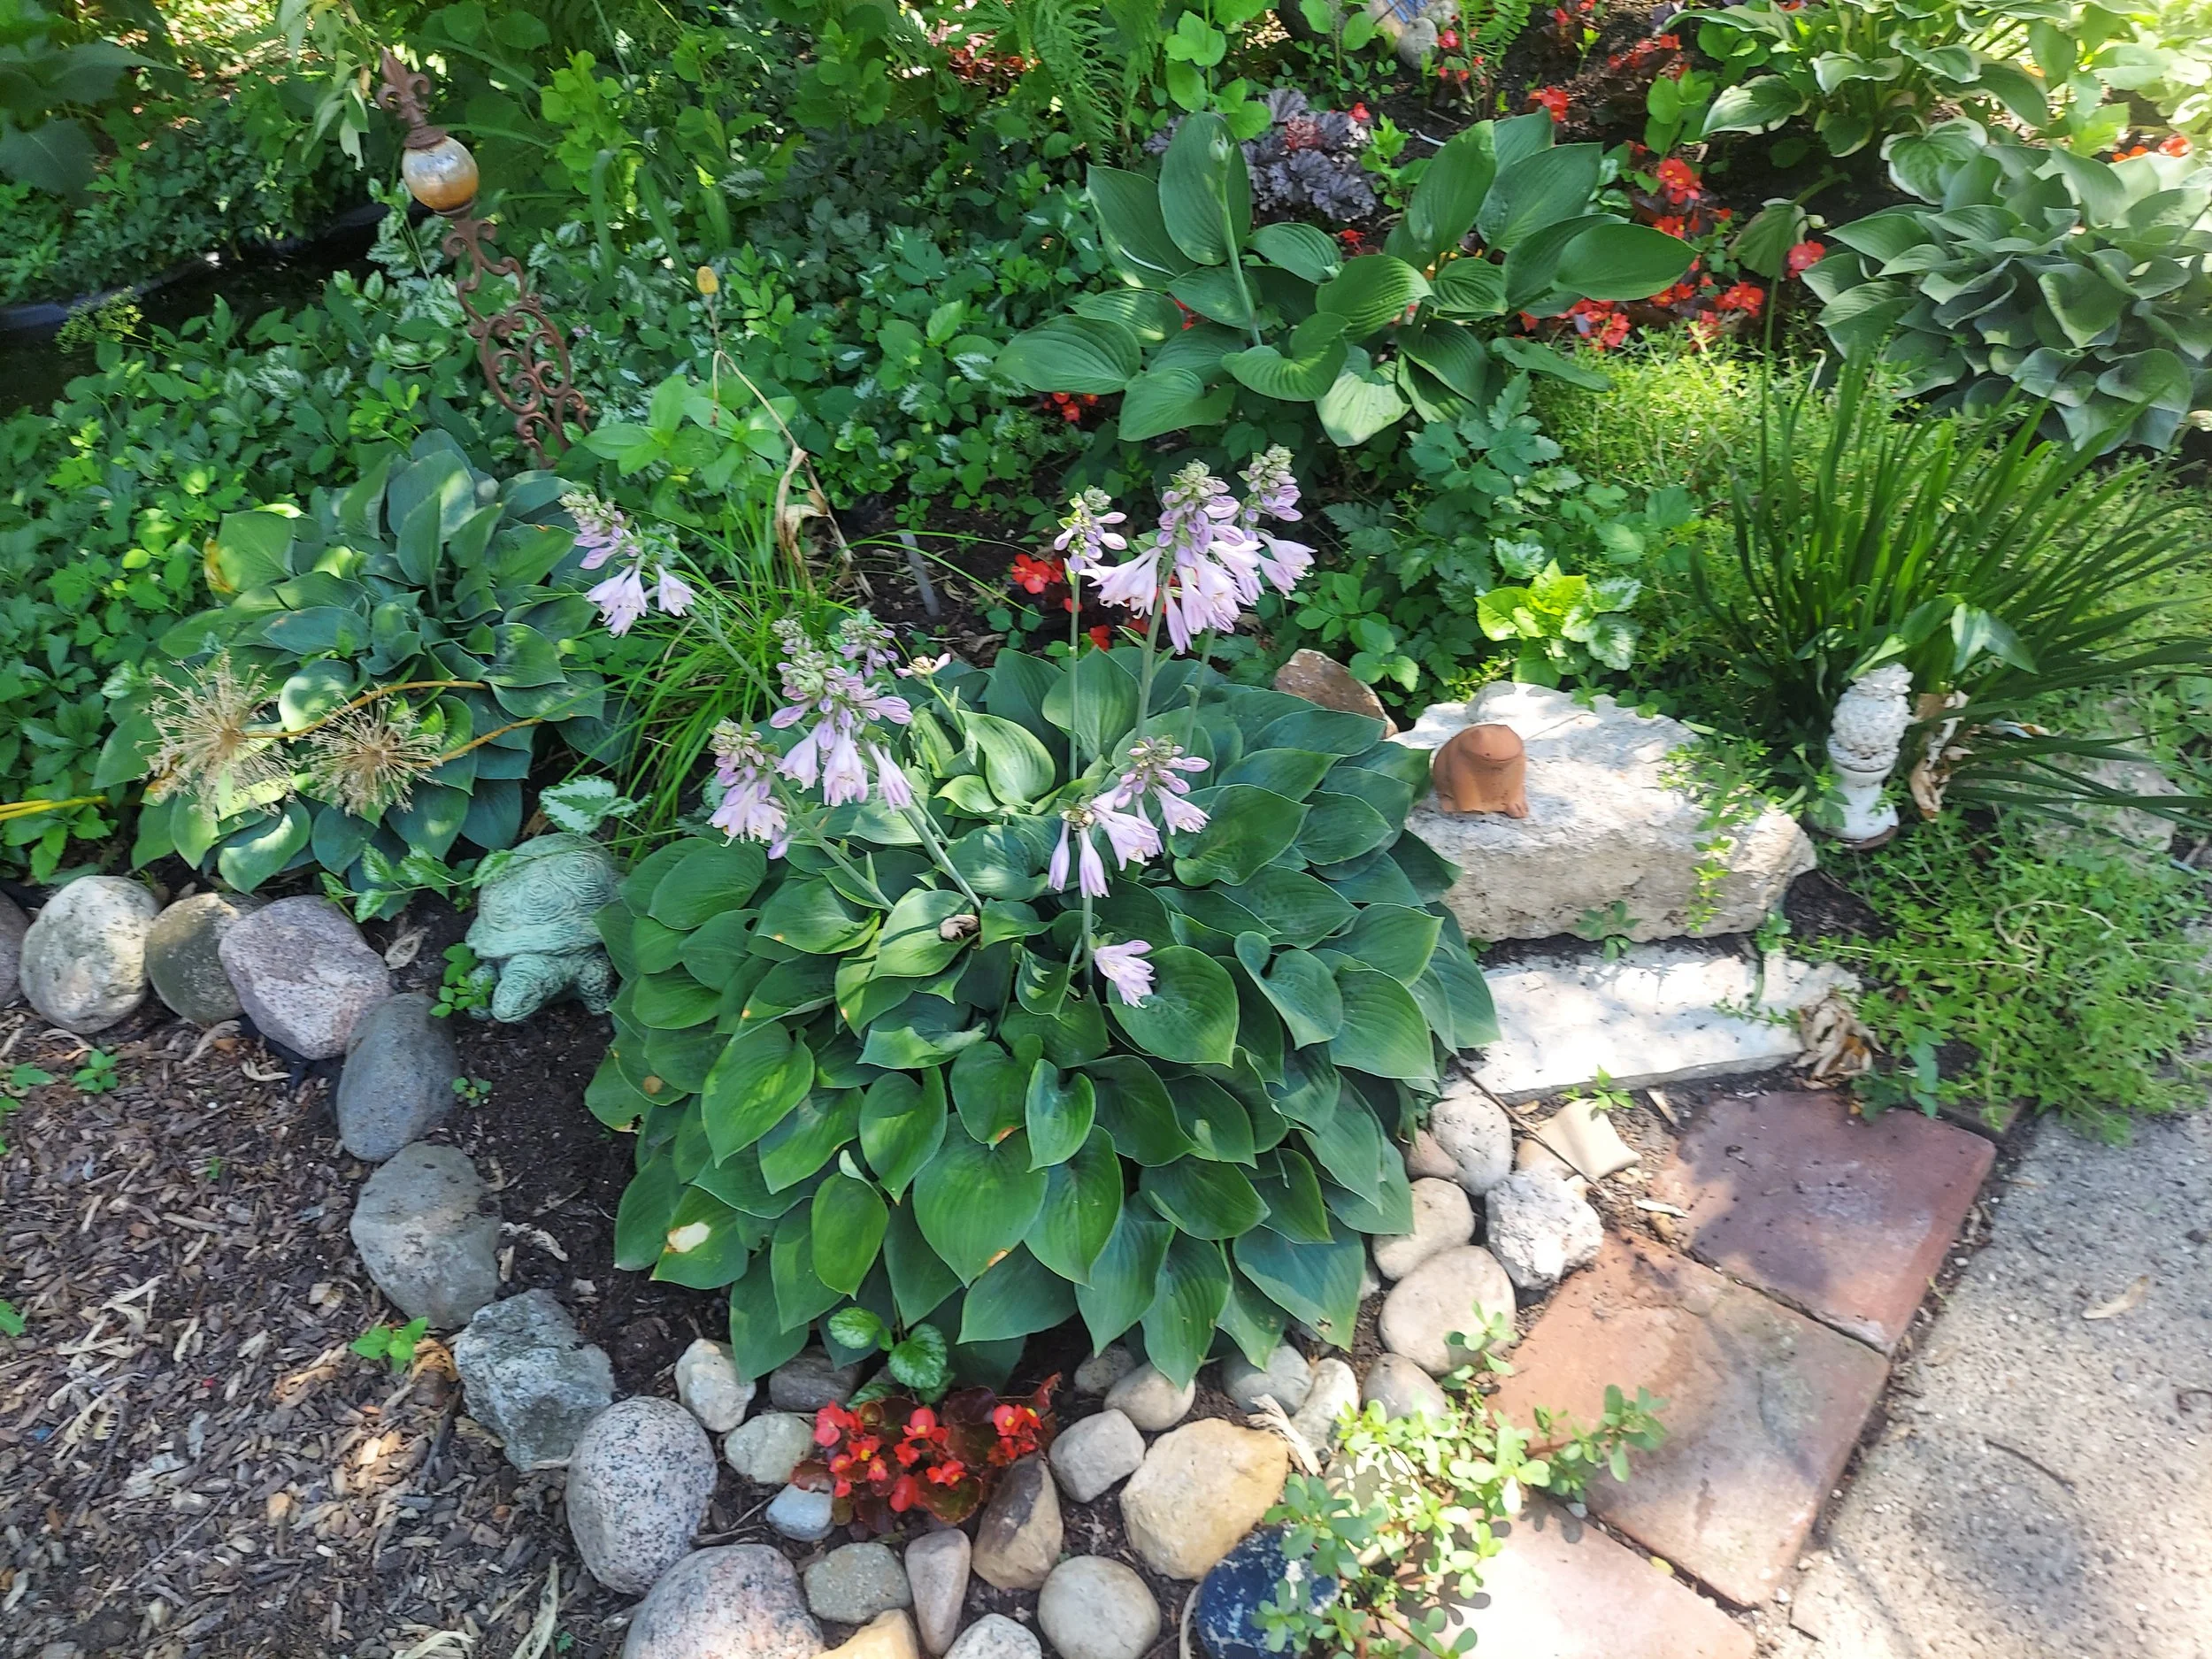
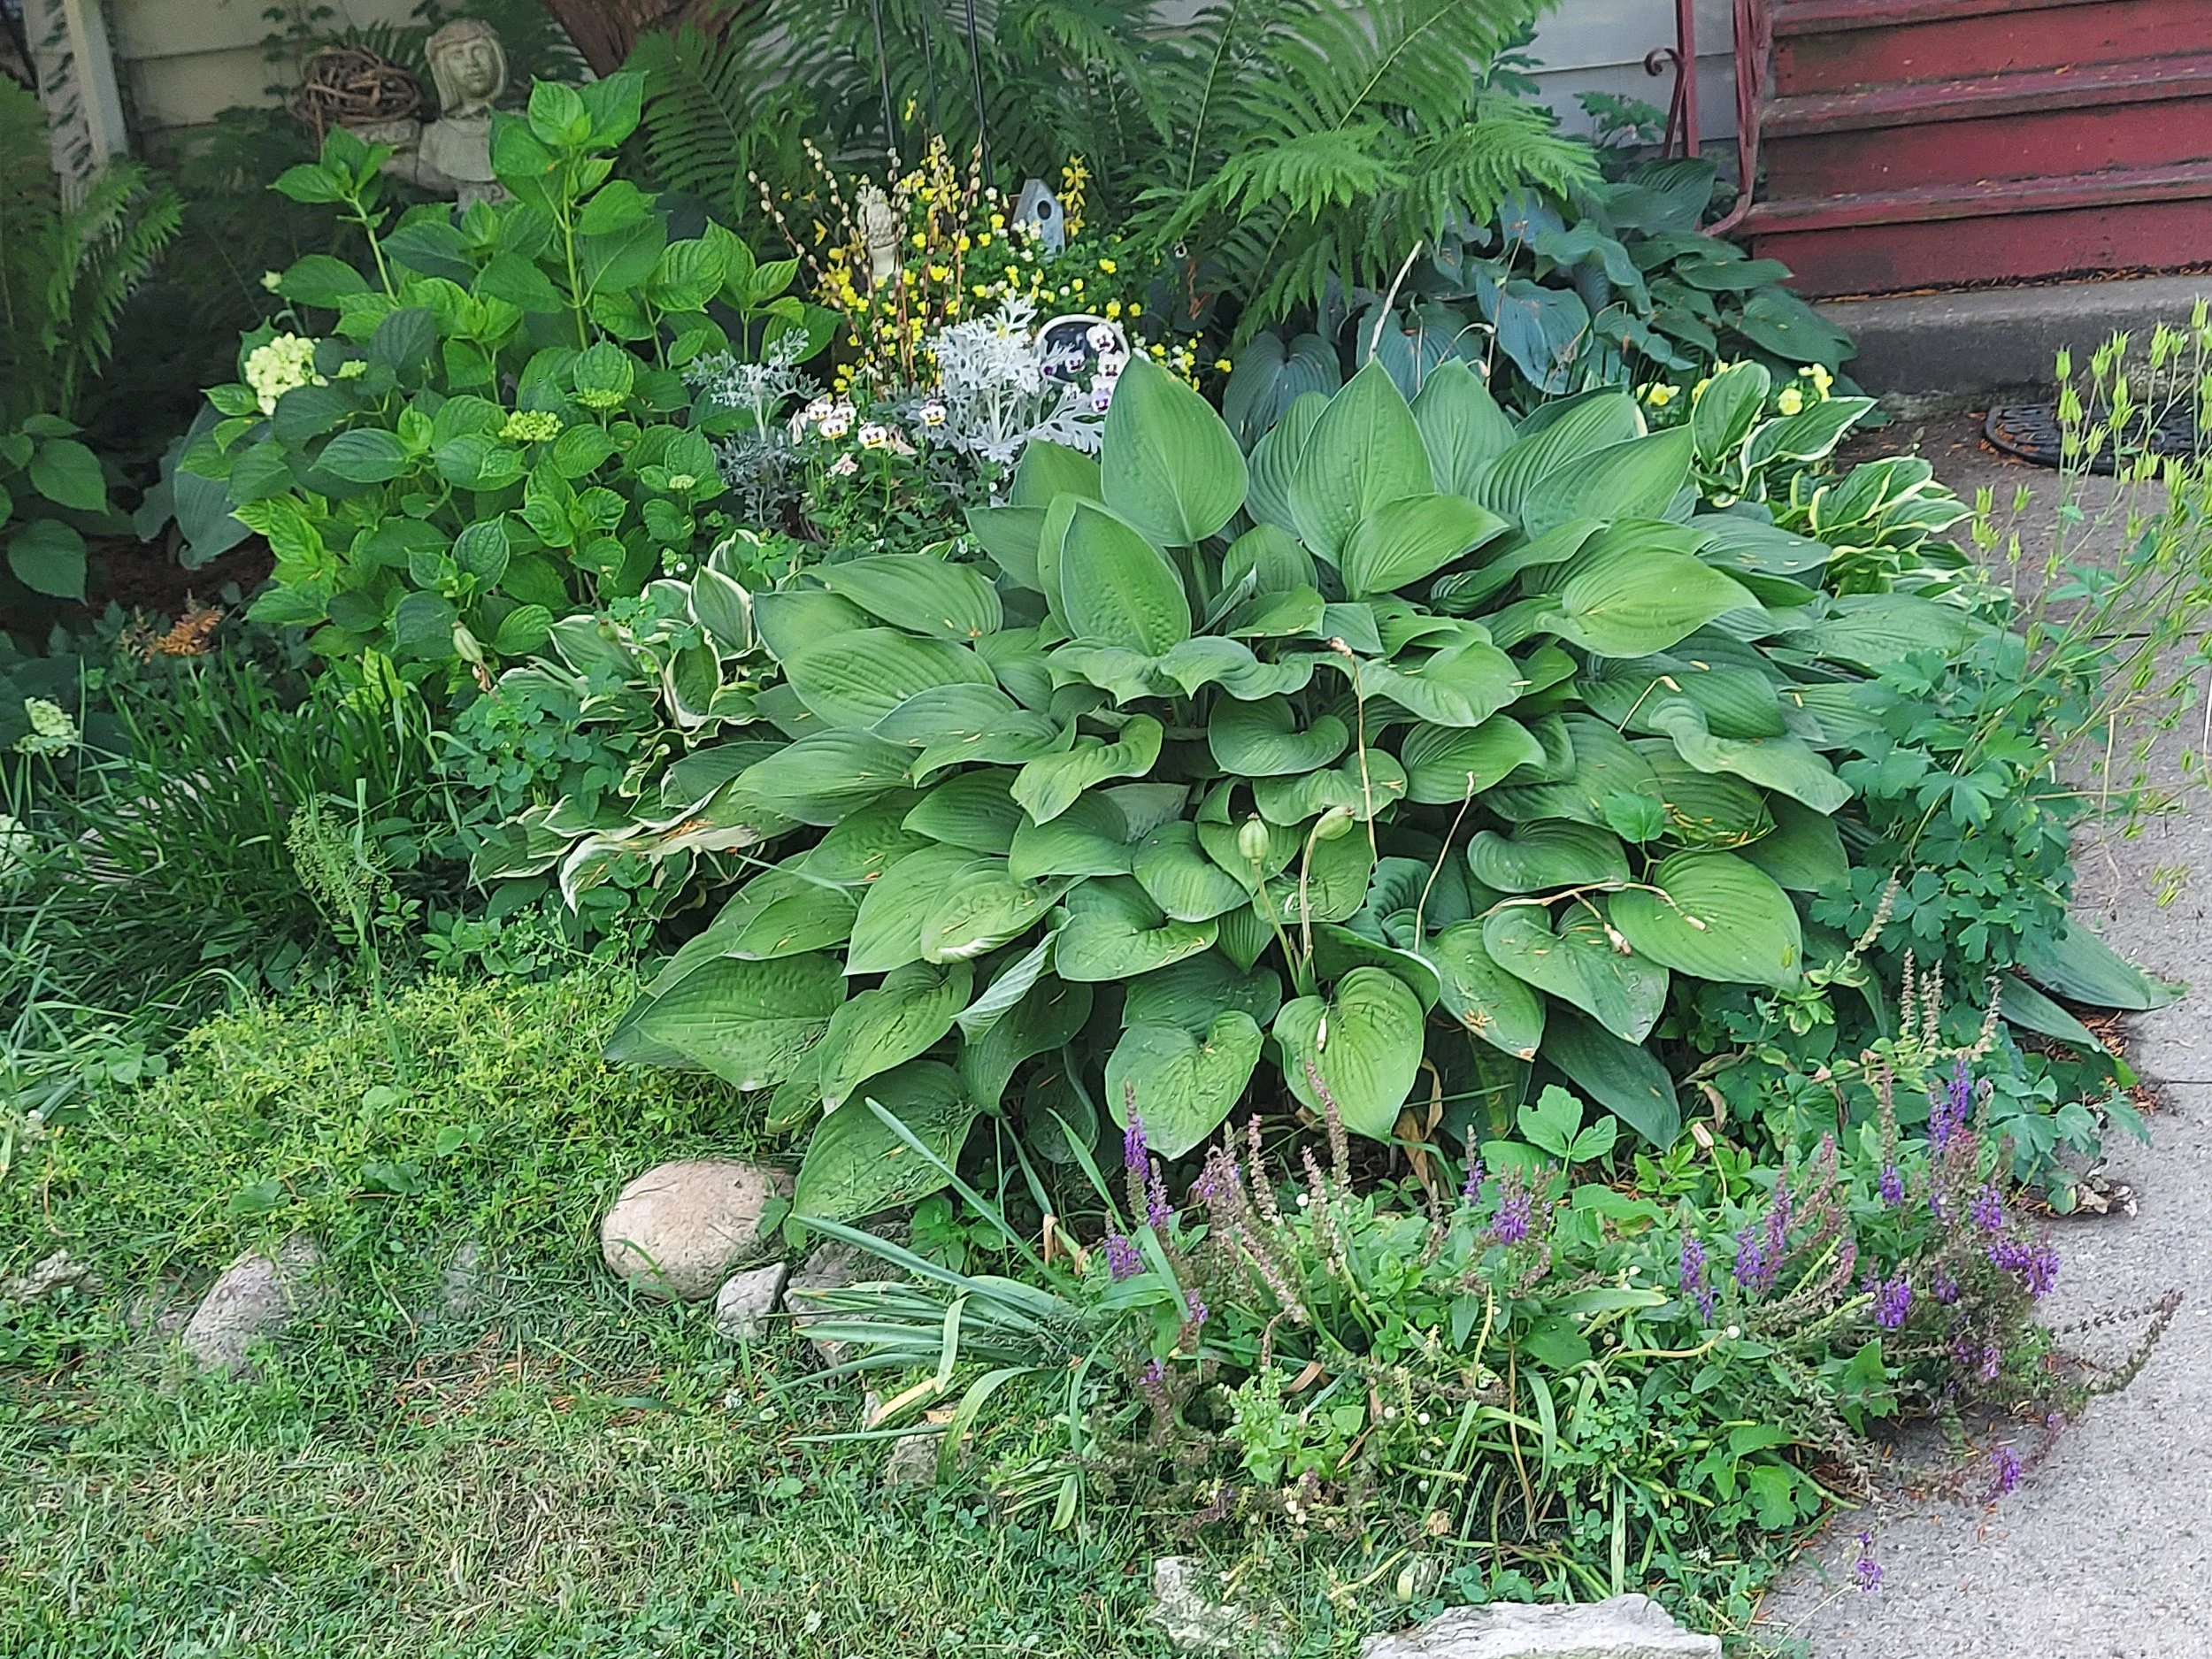
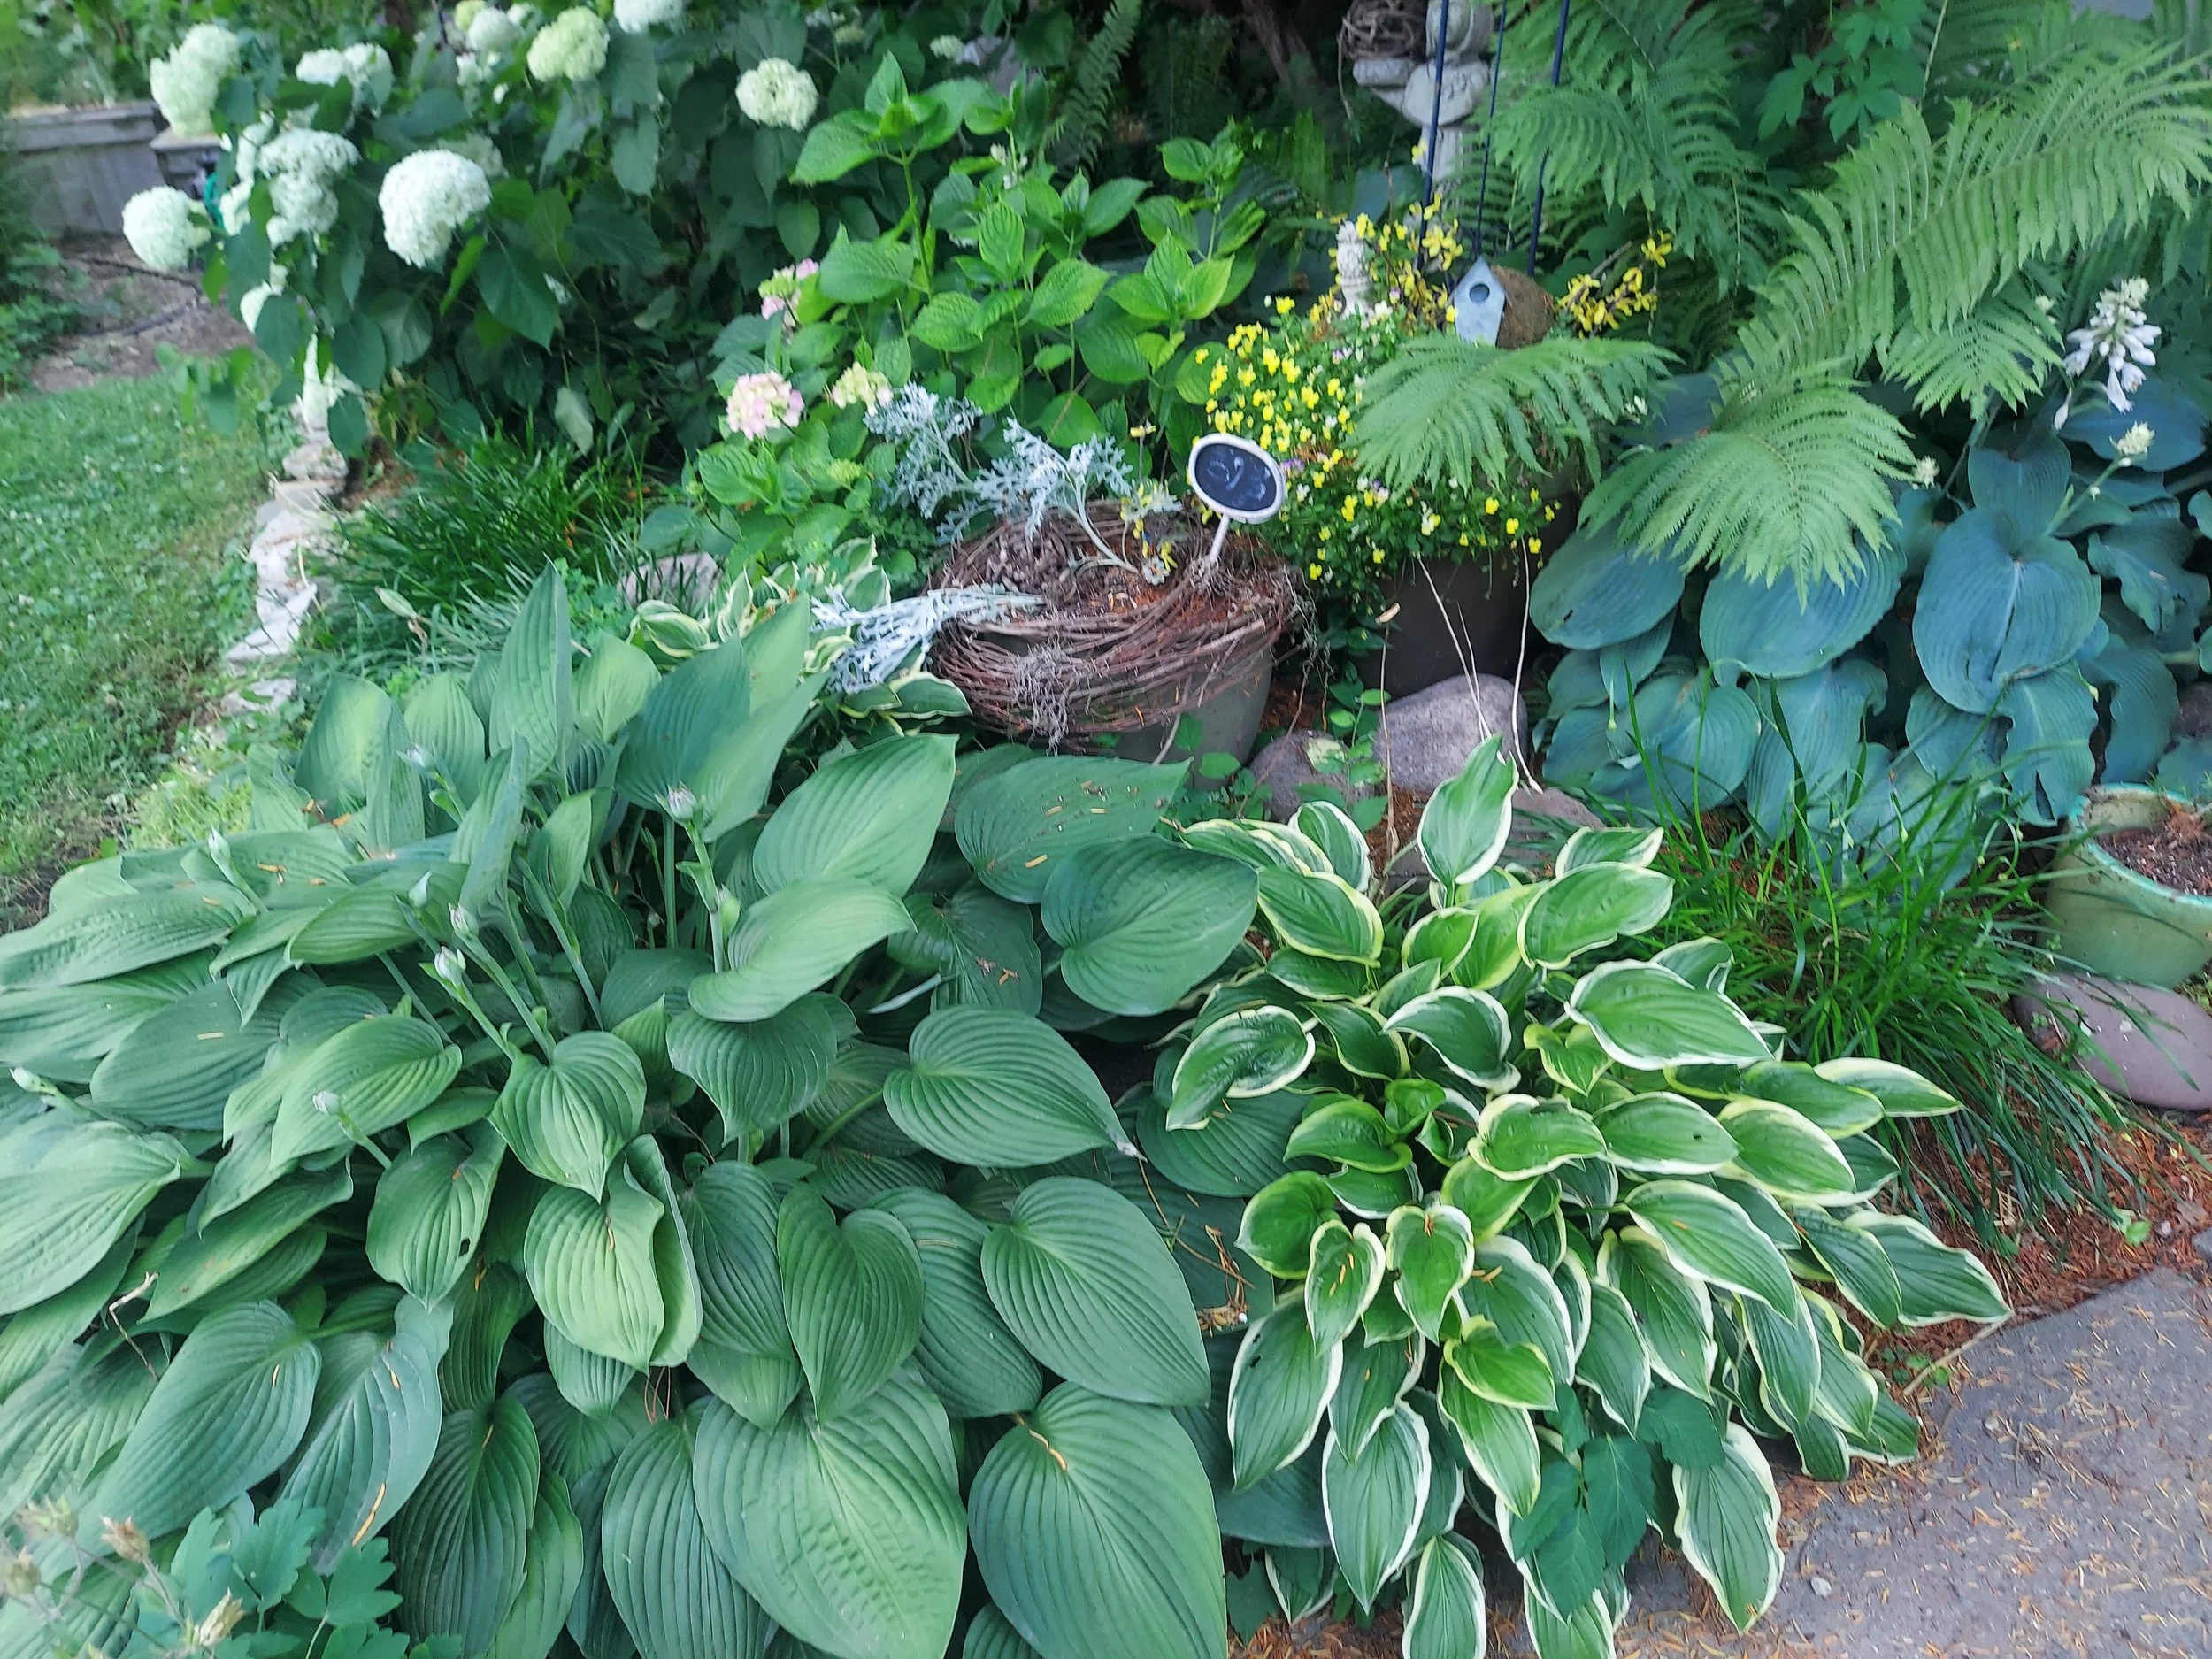
• Perennials: Coneflowers, black-eyed Susans, daylilies, hostas.
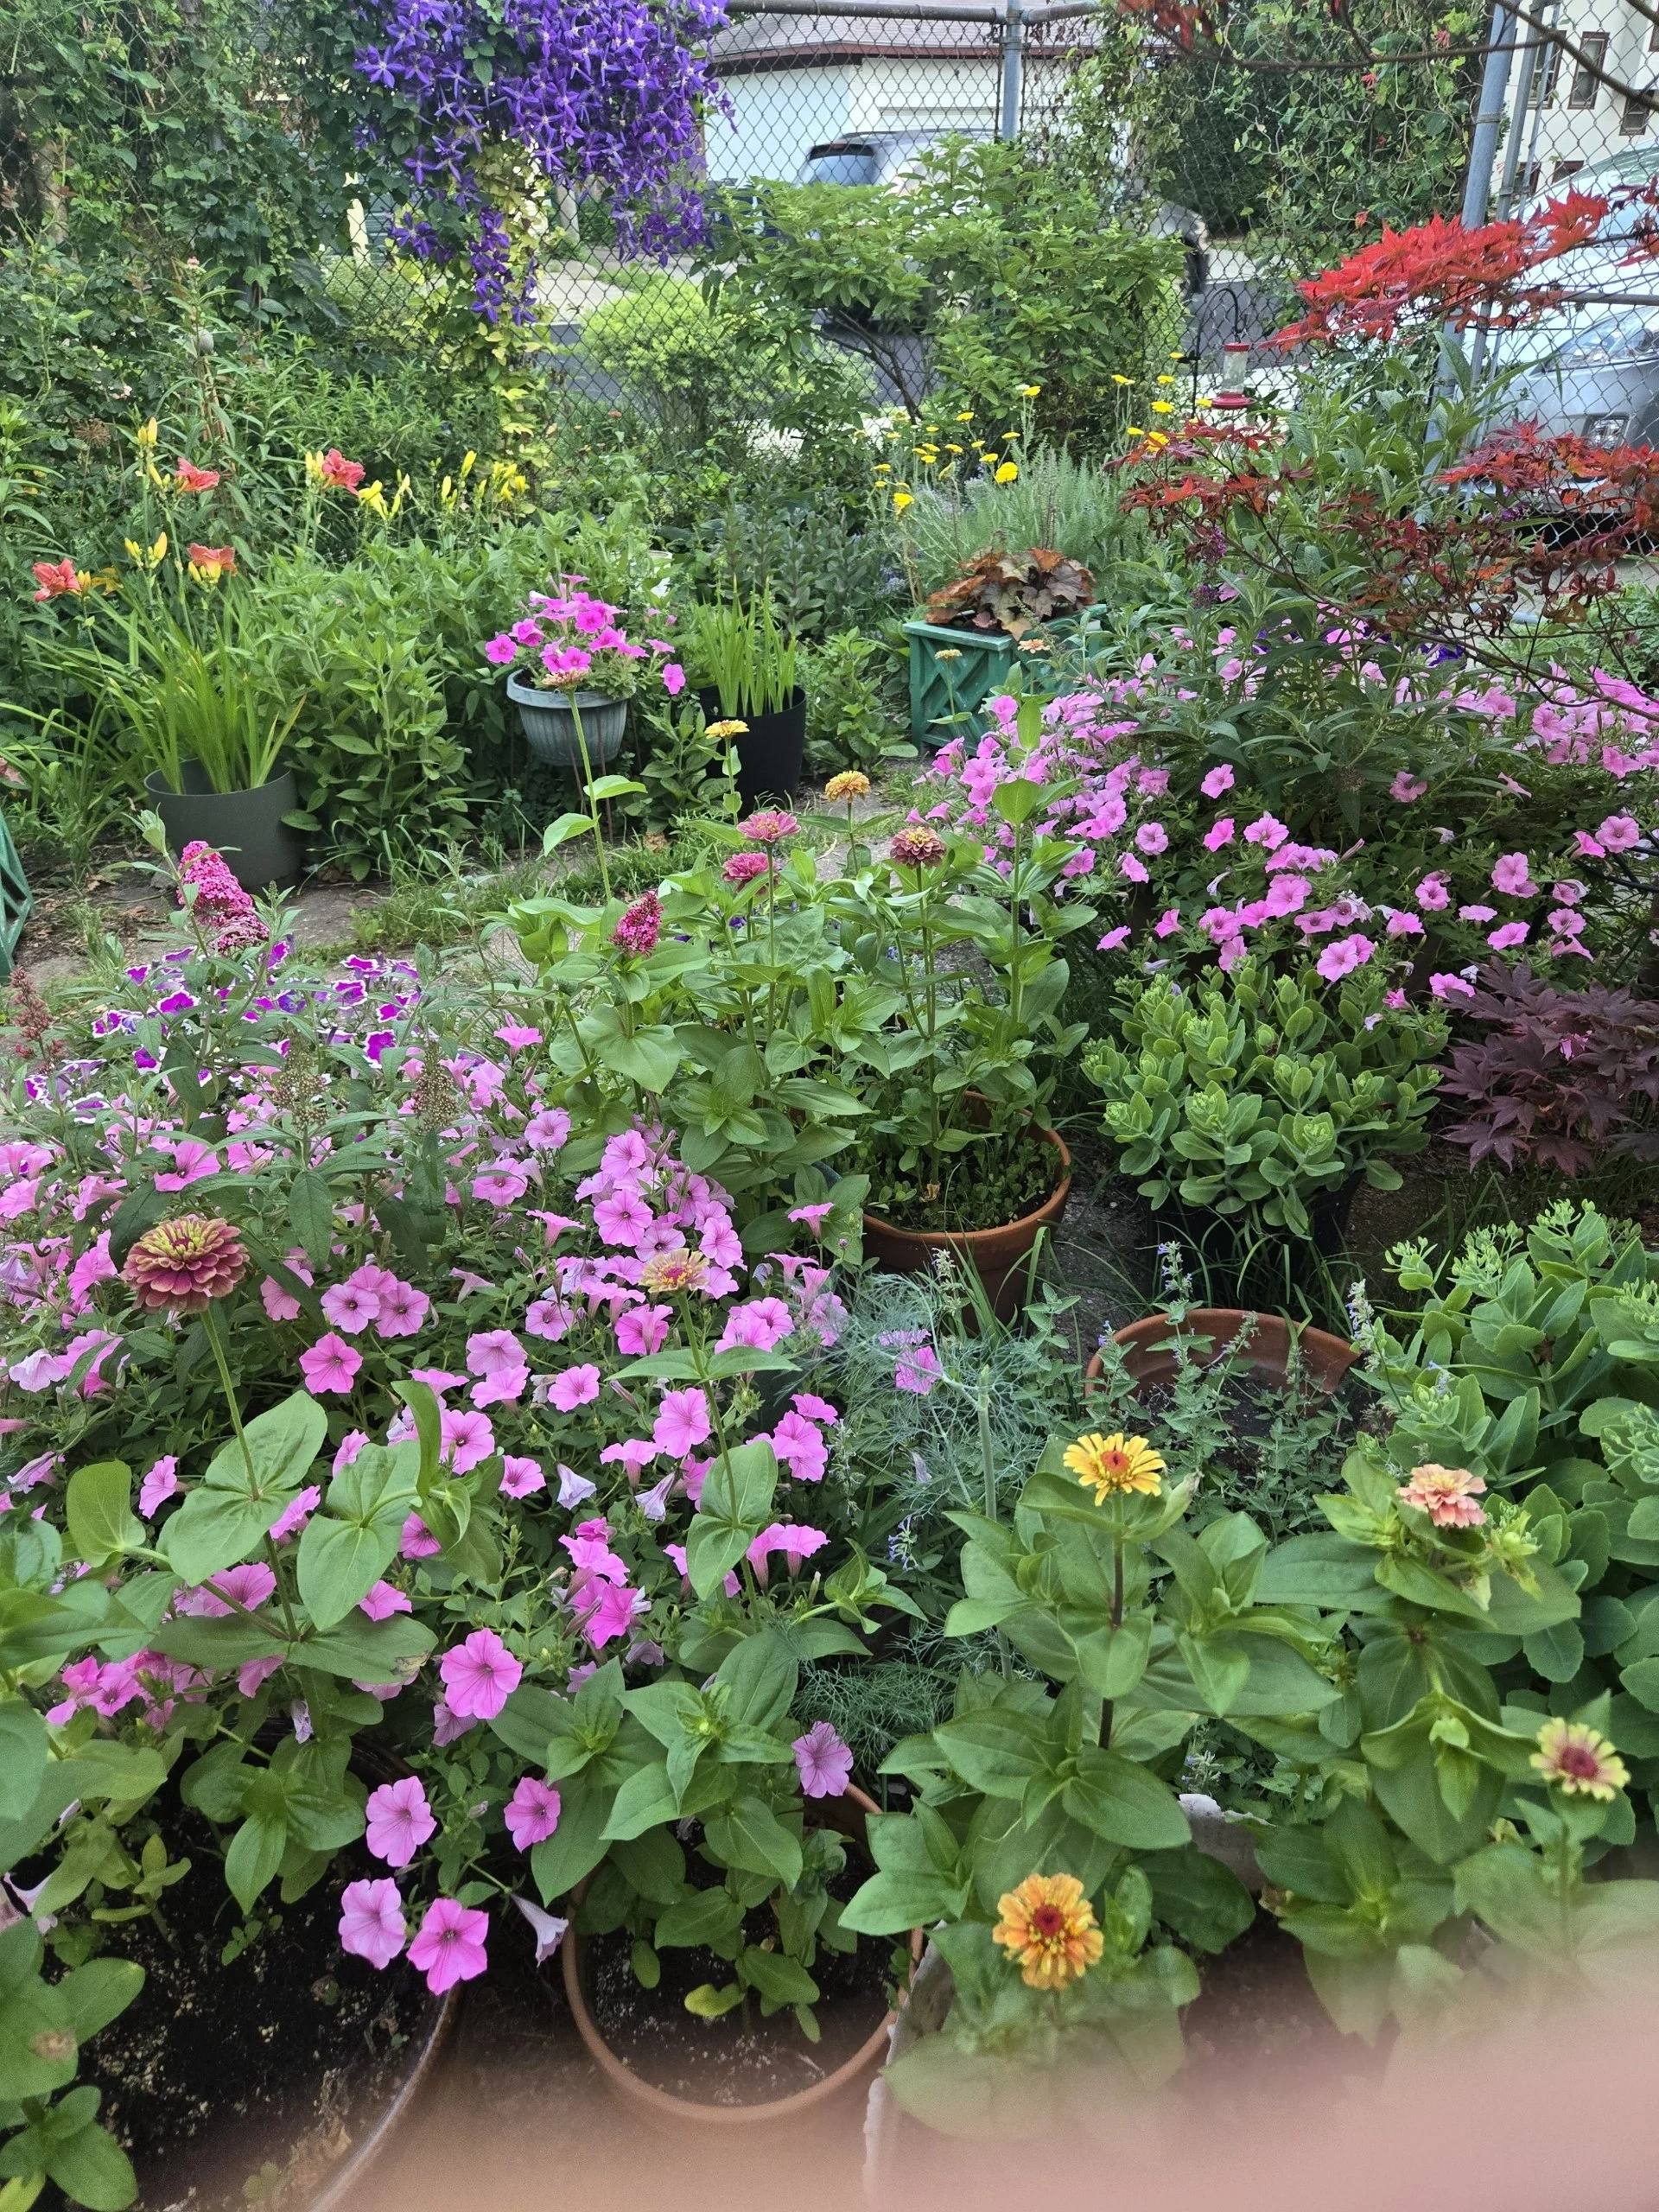
• Annuals: Petunias, marigolds, impatiens, zinnias.
• Bulbs: Tulips, daffodils, hyacinths.
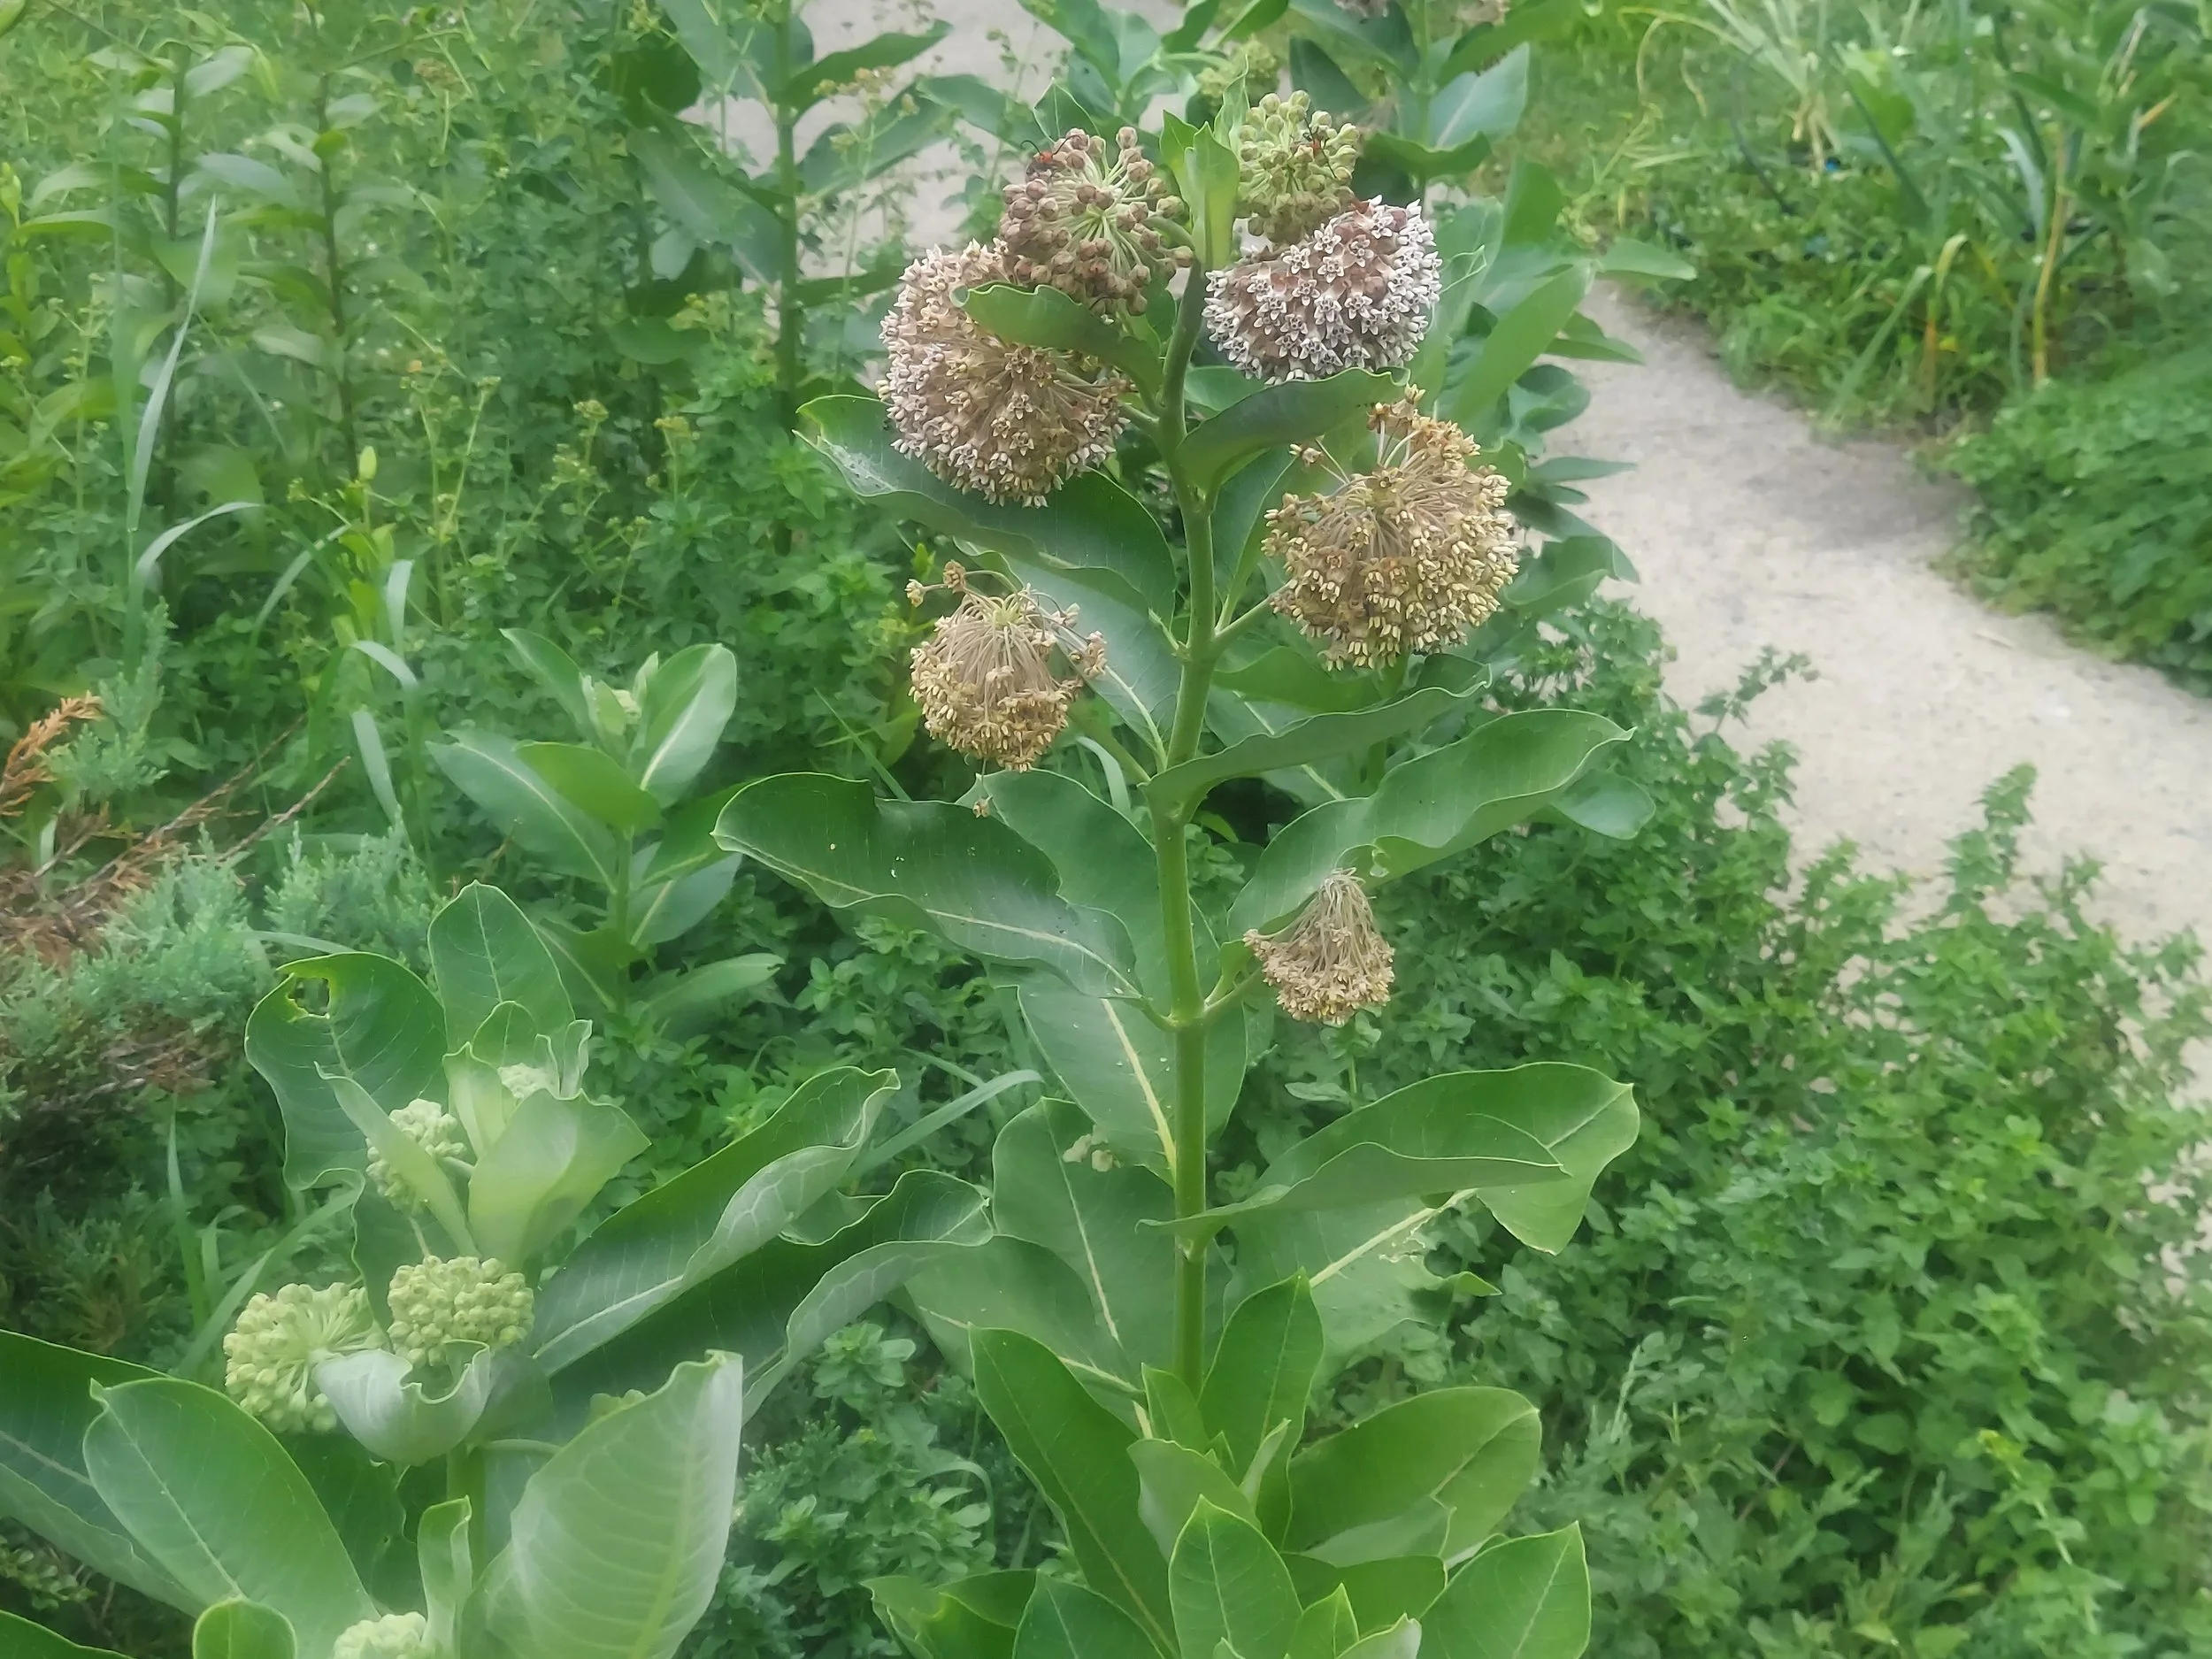
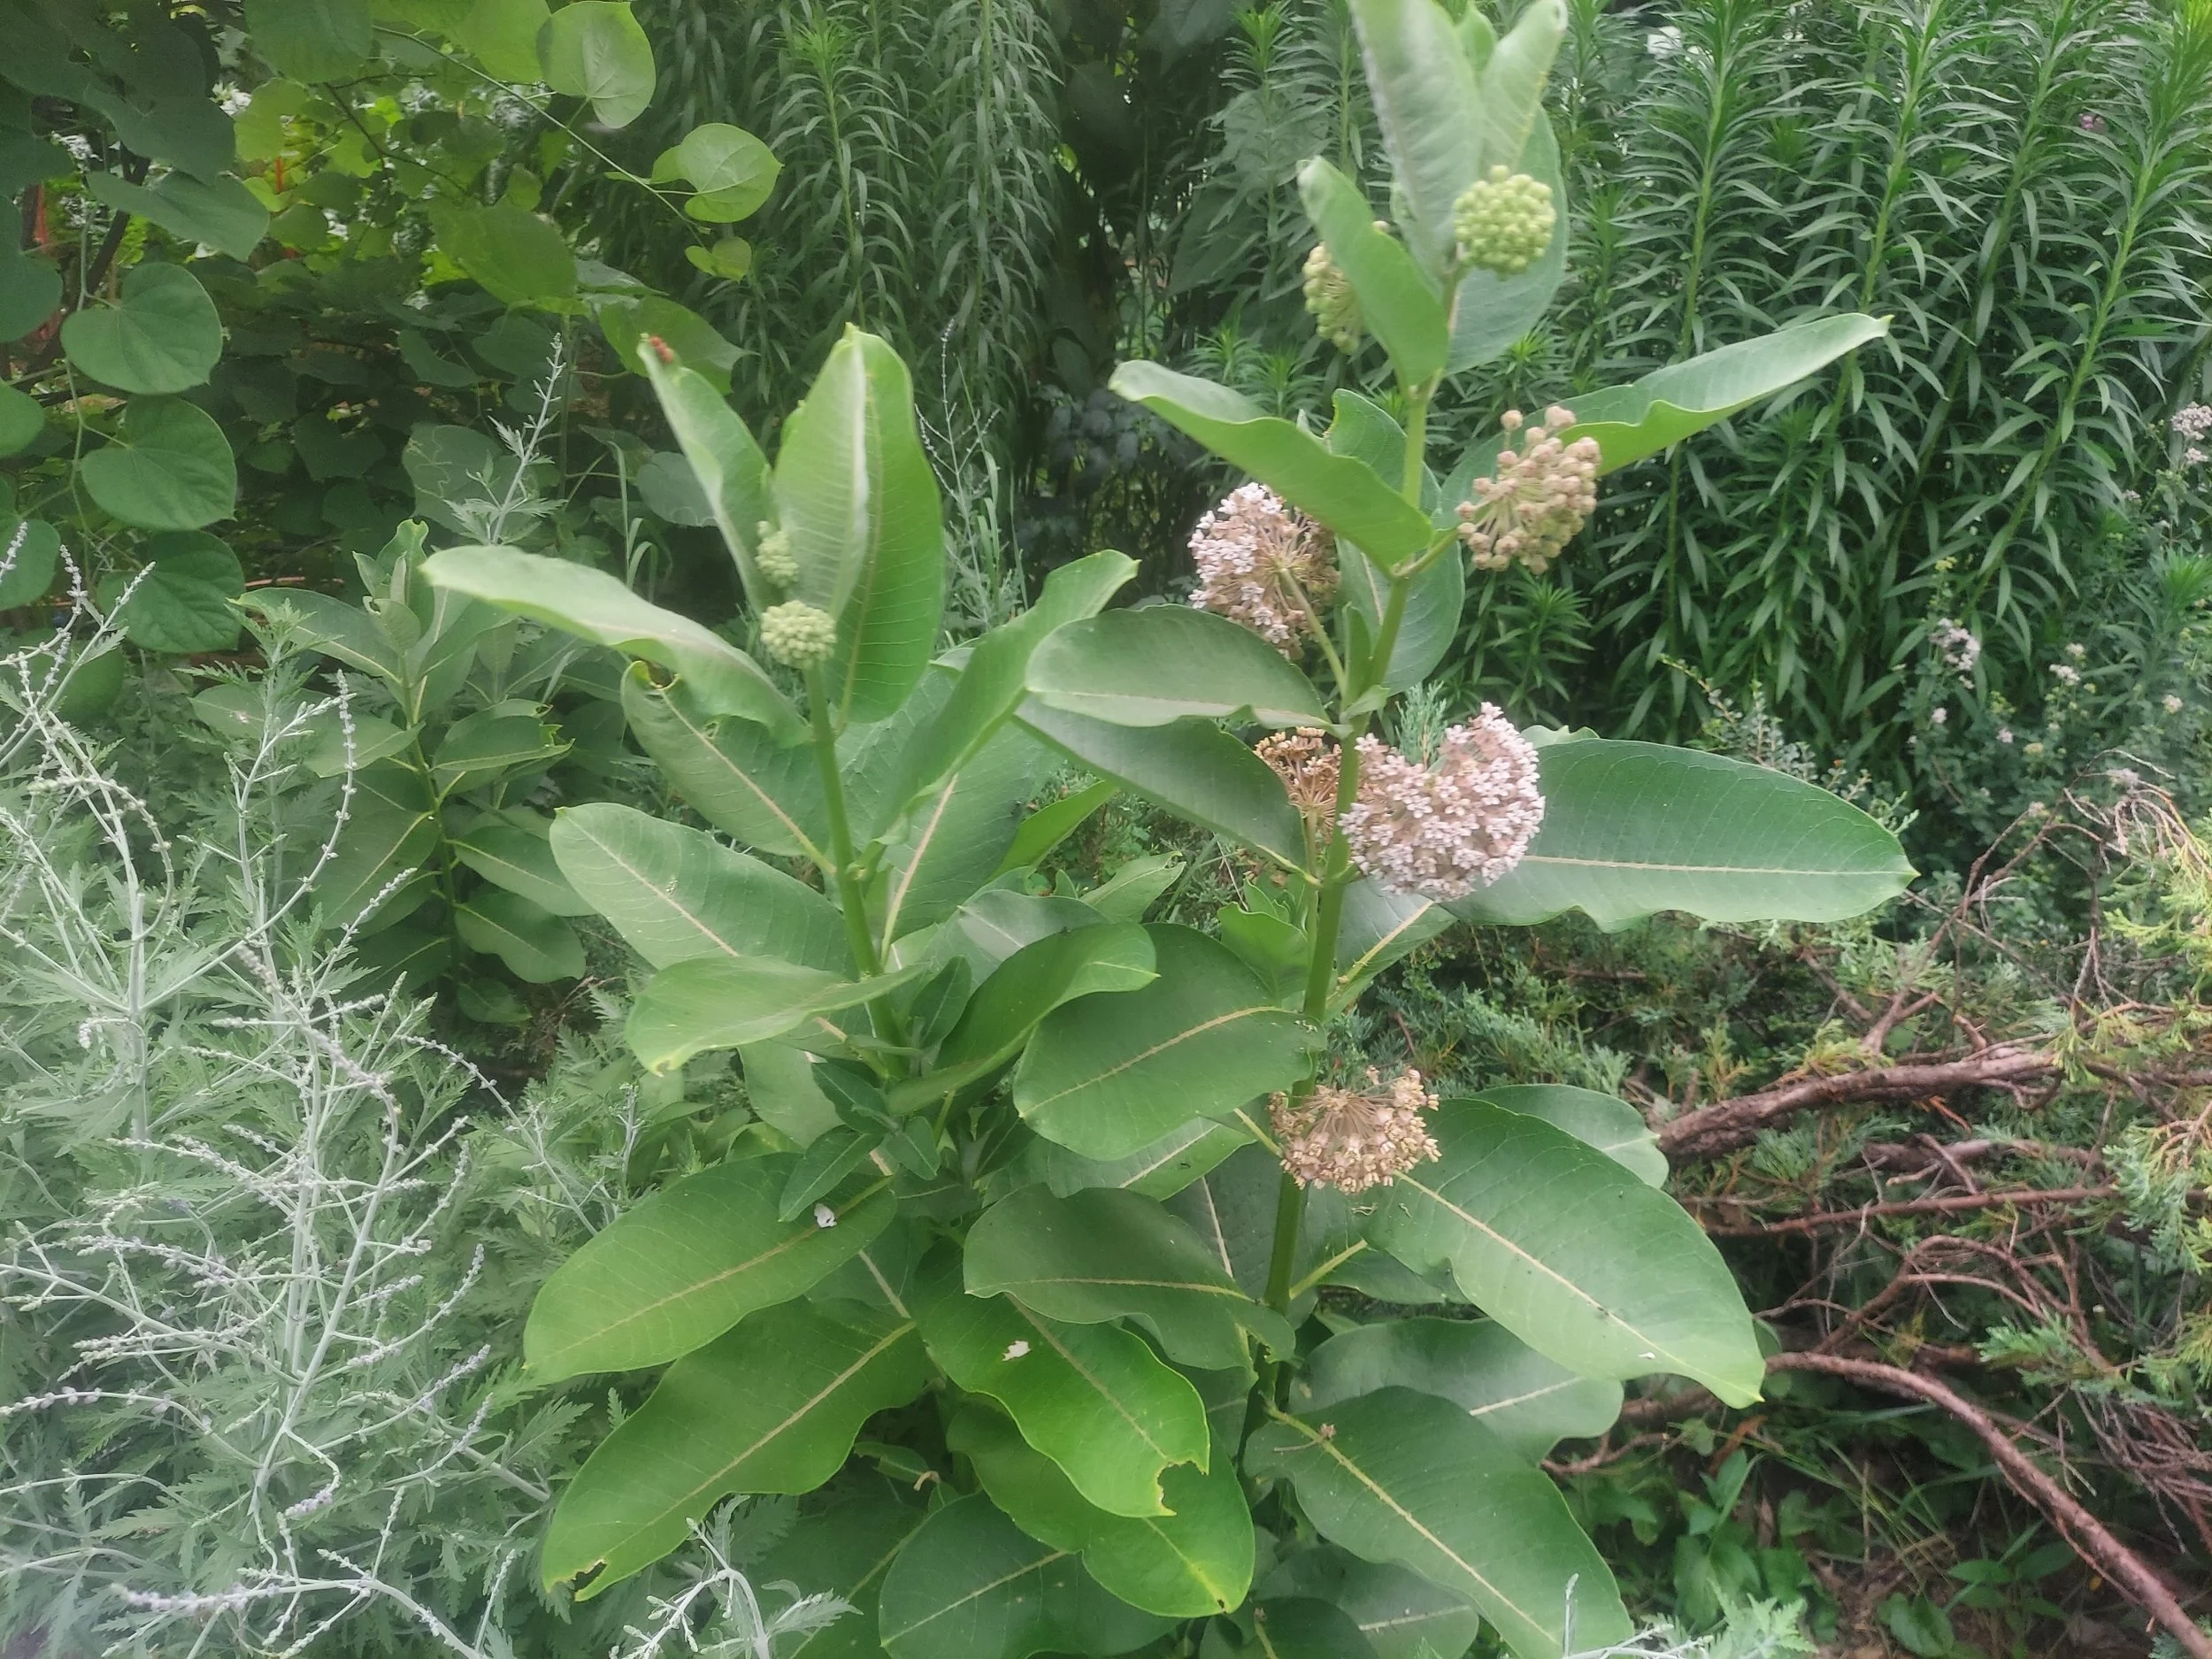
• Native Plants: Butterfly weed, prairie dropseed, purple prairie clover.
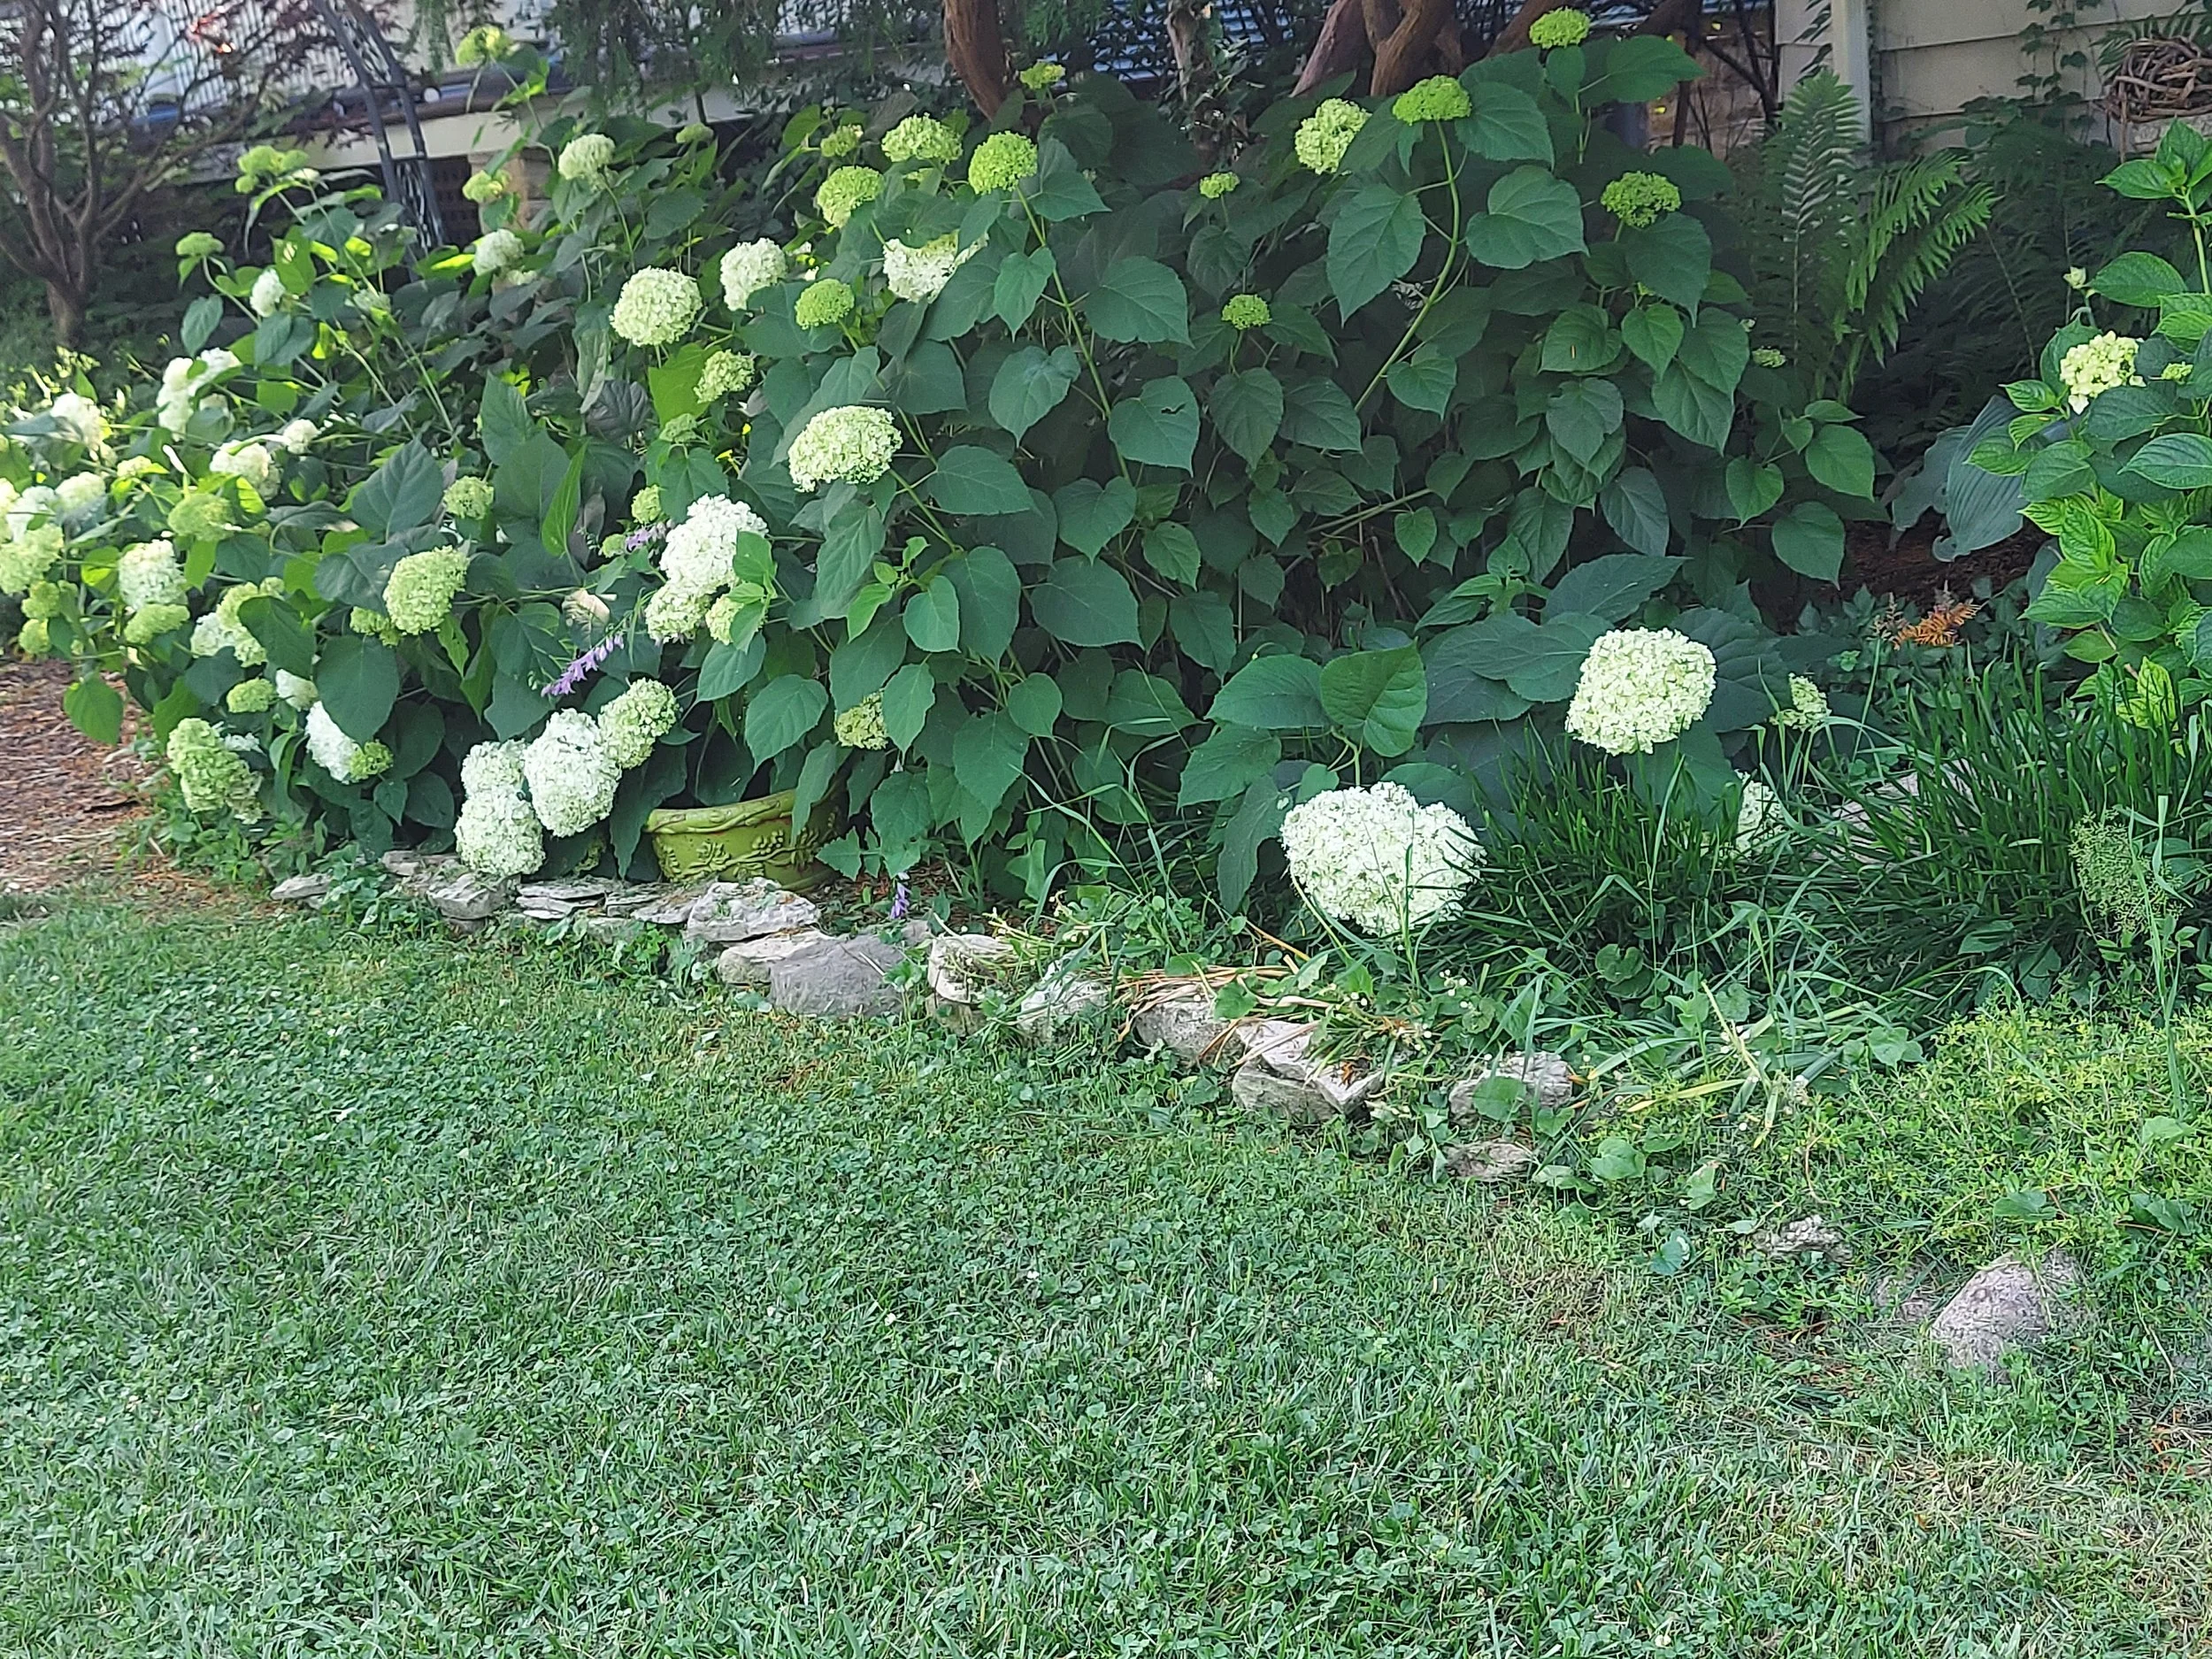
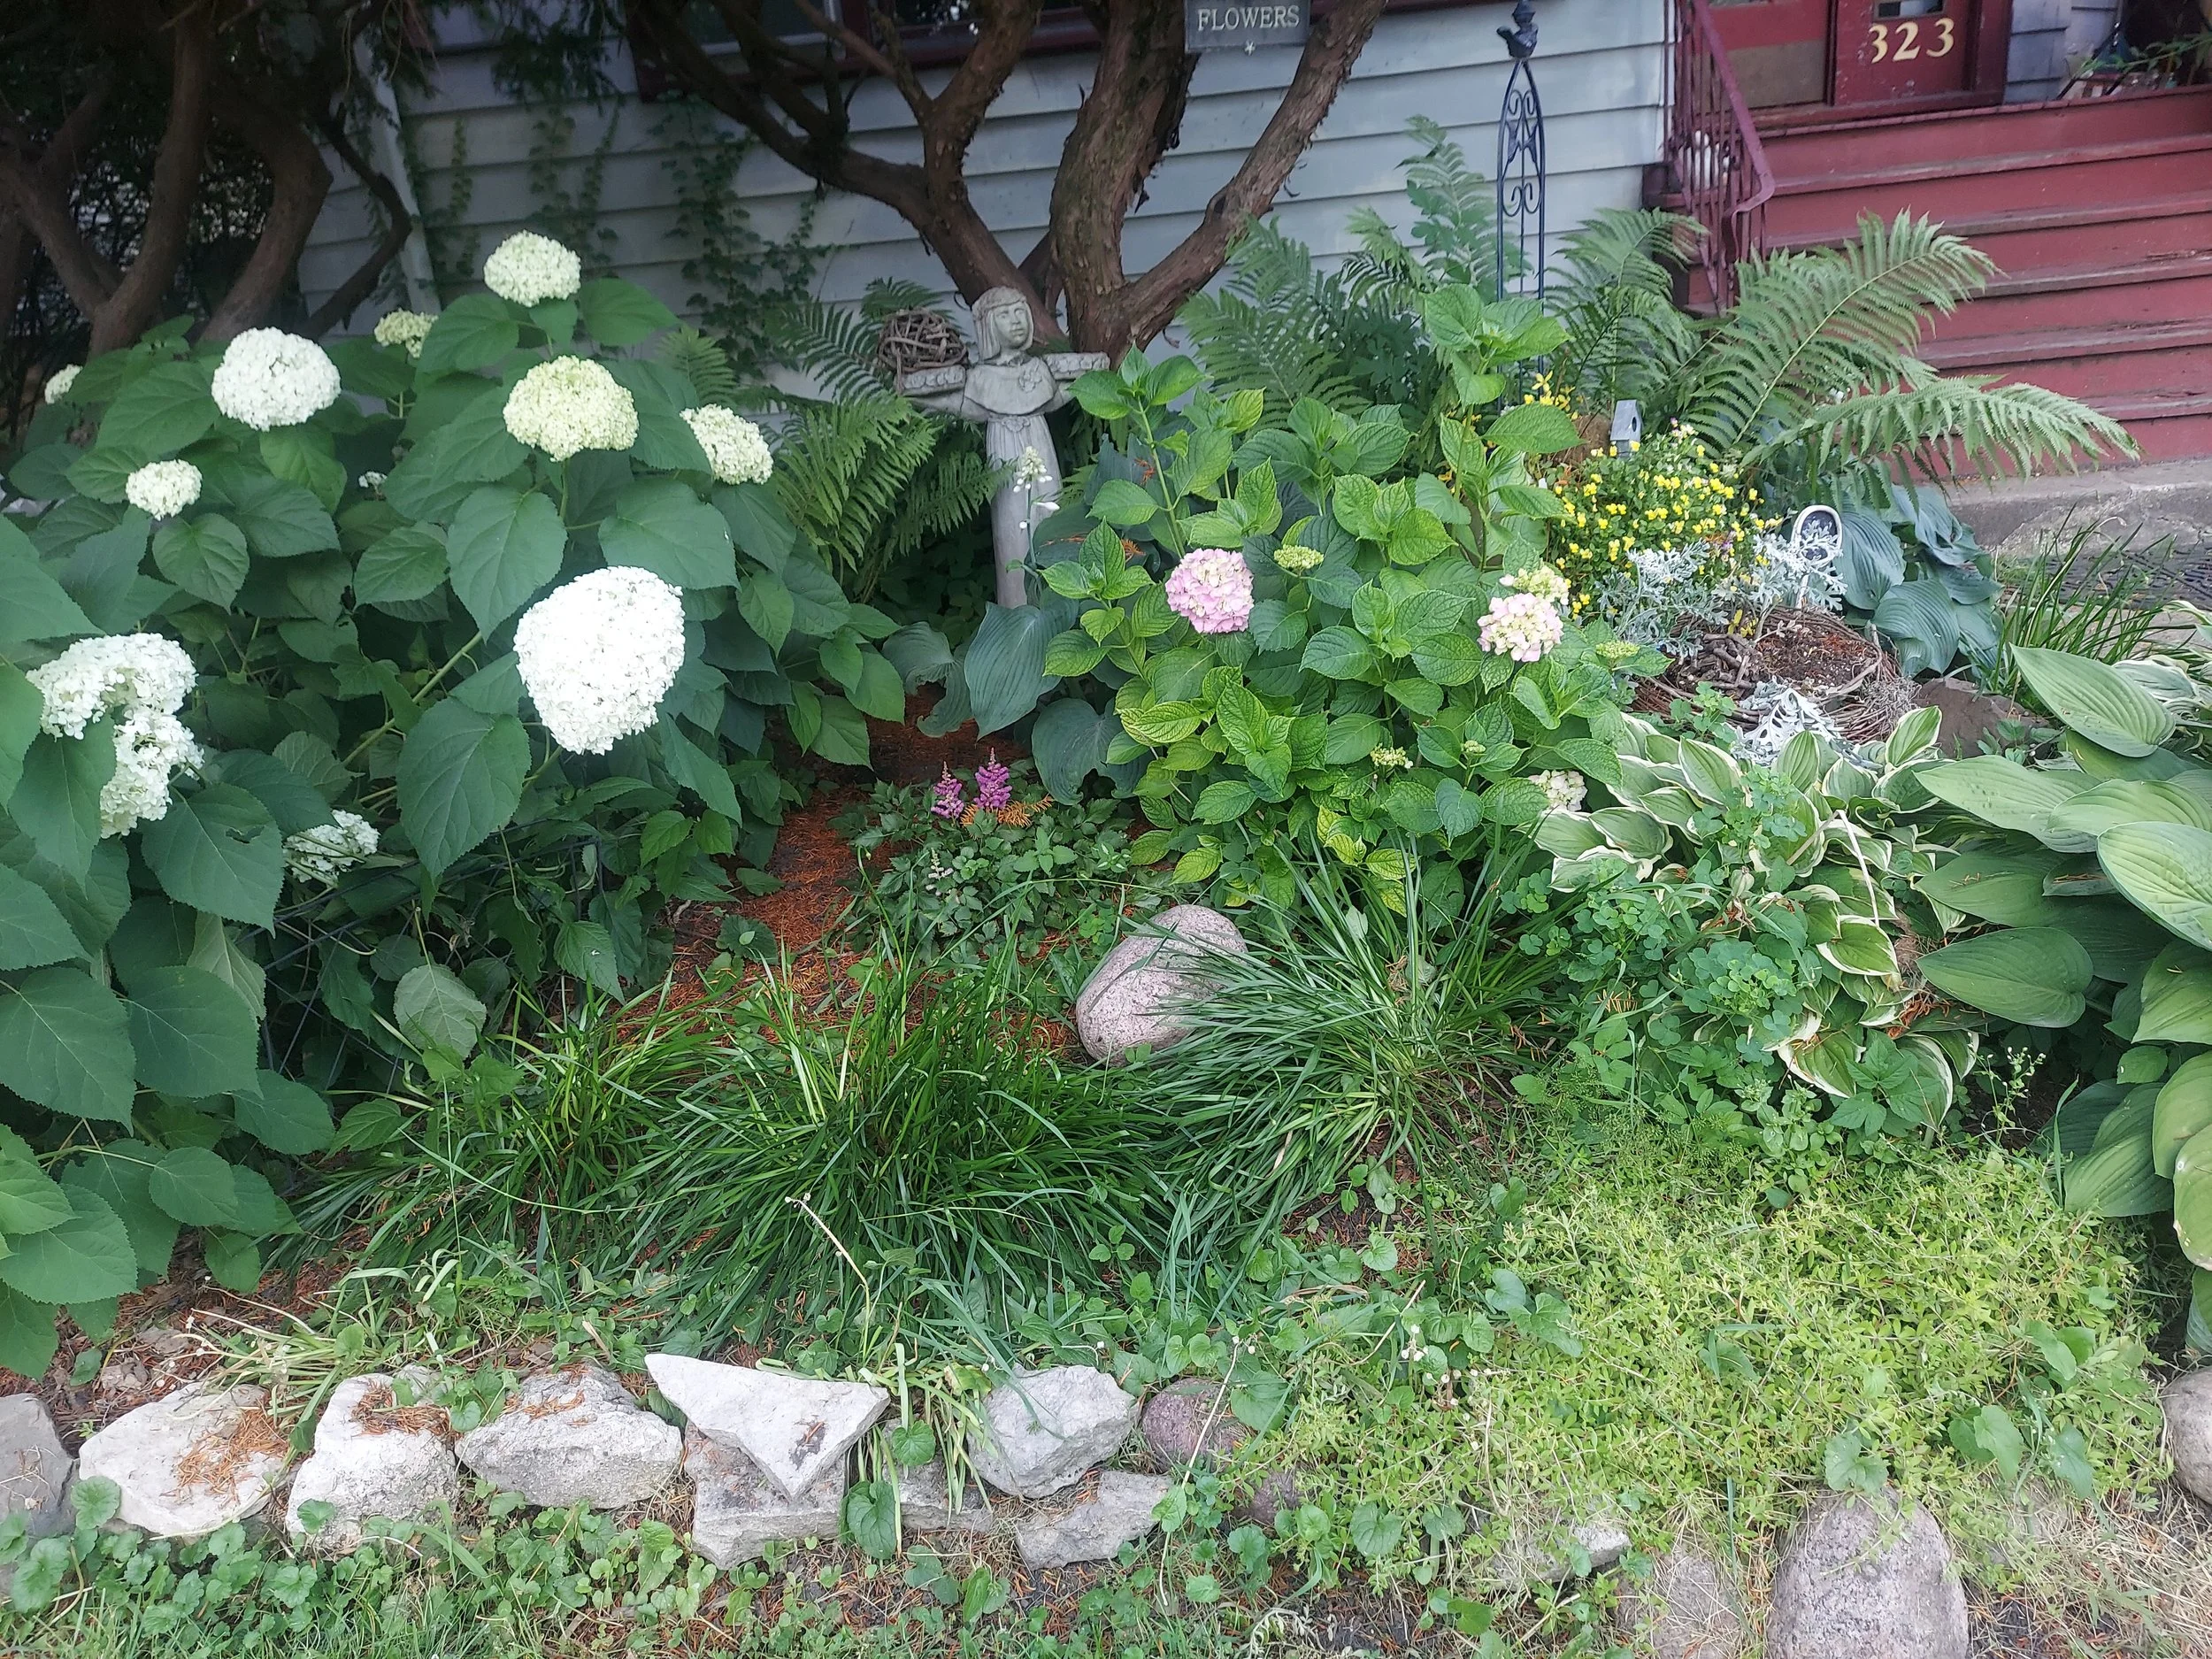
• Shrubs: Hydrangeas, lilacs, viburnums.
• Flowering Vines: Clematis, honeysuckle.
• Ground Covers: Creeping thyme, ajuga, vinca.


Some need low fertility compost
Some ornamental plants prefer low-fertility soil conditions to mimic their native habitats. A more detailed list of low-fertility soil ornamentals is below.
Use compost sparingly or avoid it altogether for these plants:
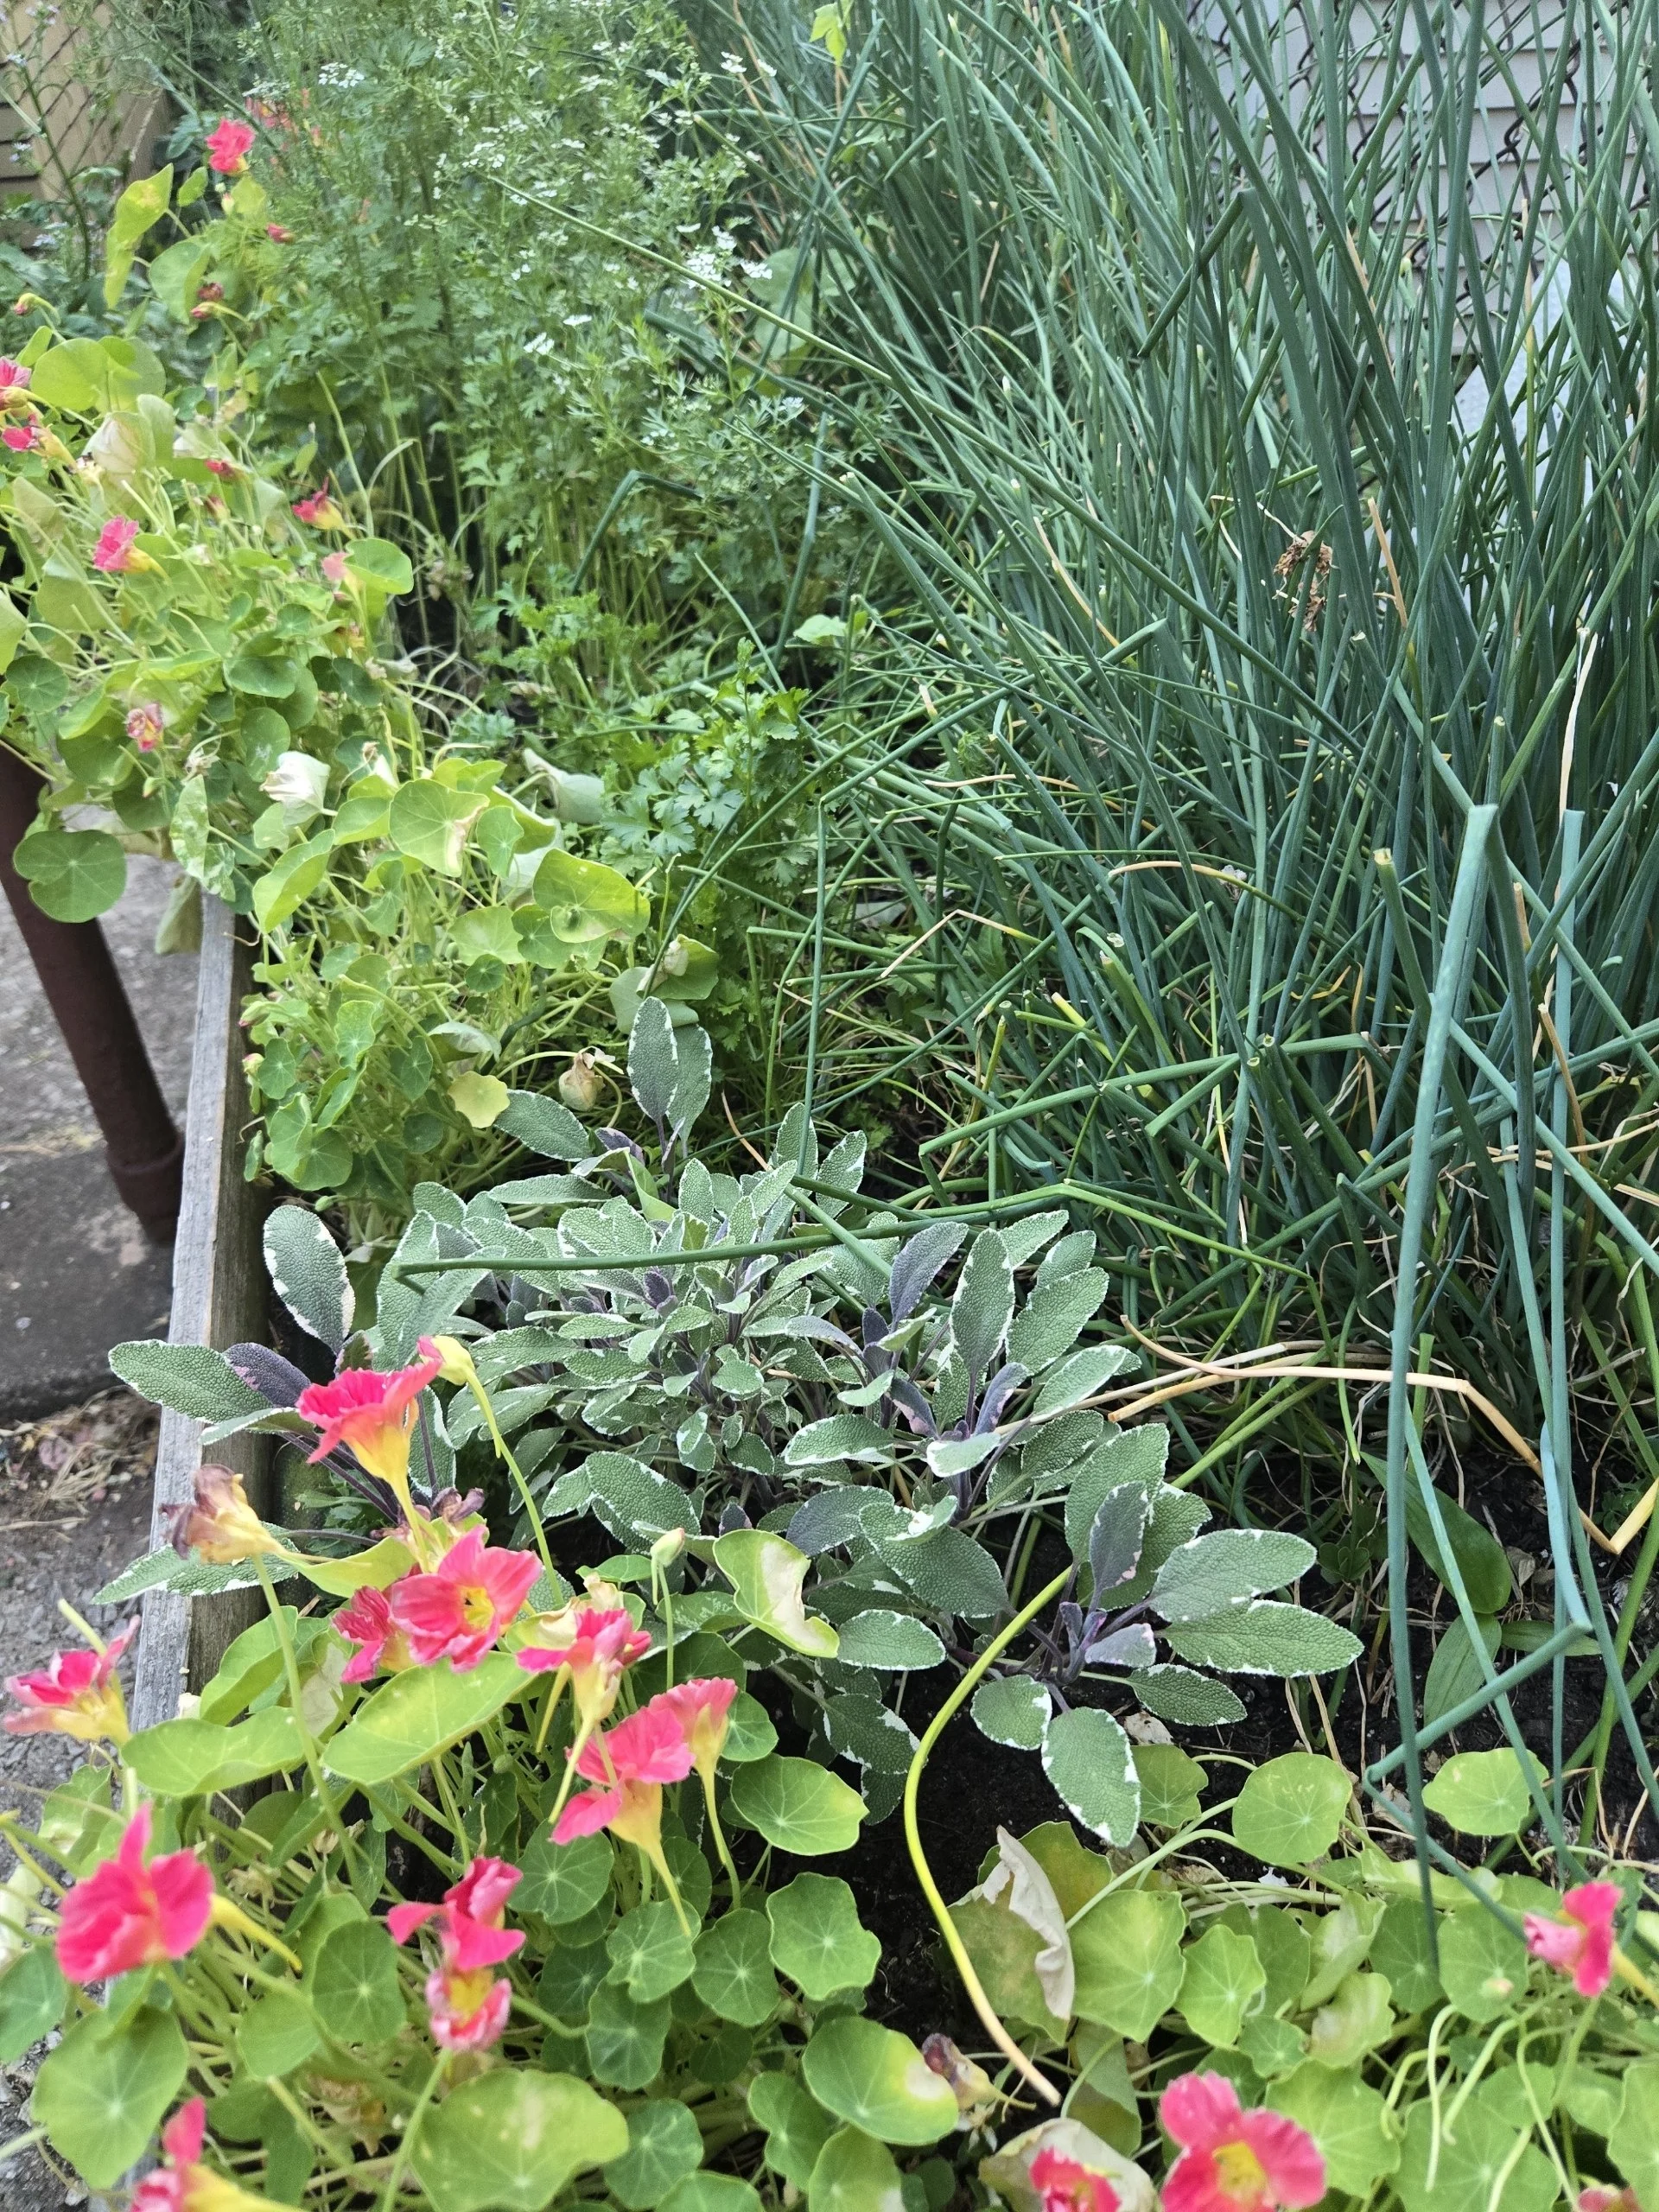
• Herbs from Arid Climates: Lavender, rosemary, thyme.
• Succulents: Sedum, echeveria, jade plant.
• Carnivorous Plants: Venus flytraps, pitcher plants (which thrive in nutrient-poor, acidic soils).
• Wildflowers for Lean Soils: Poppies, some varieties of cosmos.
How to use our compost on ornamentals
For best results:
• Top-dress beds with a 1-2 inch layer of compost in spring and fall.
• Mix into planting holes when setting new plants to encourage strong root establishment.
• Apply as mulch around shrubs and perennials to suppress weeds and retain moisture.
A Garden That Gives Back
By using our compost on your ornamental plants, you’re not just enhancing your garden’s beauty. You’re also fostering a healthier ecosystem, improving soil health, and supporting pollinators like bees and butterflies.
Whether you’re growing roses or prairie natives, Deep Roots Project compost provides the foundation for a garden that flourishes. Visit our website or contact us to learn more about how our compost can bring life to your ornamental garden!
Gardening Tip: If you’re unsure whether a plant will thrive with nutrient-rich compost, start by applying it to a small area and observe how your plant responds. Happy gardening!
Plants that prefer low-fertility soils - expanded list
Certain plants thrive in nutrient-poor, well-drained soils and may not perform well with our rich, microbe-packed compost. Here’s a more comprehensive list of plants that prefer low-fertility soil conditions.
Herbs and shrubs from arid climates
• Lavender (Lavandula spp.)
• Rosemary (Salvia rosmarinus)
• Thyme (Thymus spp.)
• Sage (Salvia spp., especially ornamental varieties)
• Santolina (Santolina chamaecyparissus, also called lavender cotton)
• Russian Sage (Perovskia atriplicifolia)
Succulents and drought-tolerant plants
• Sedum (Stonecrop varieties)
• Echeveria
• Jade Plant (Crassula ovata)
• Aloe Vera
• Cactus (Various species)
Wildflowers for low-fertility soils
Wildflowers often evolved in low-nutrient soils and can struggle with excessive fertility. Examples include:
• Poppies (Papaver spp.)
• Cosmos (Some varieties like Cosmos sulphureus)
• Coreopsis (Coreopsis lanceolata, aka tickseed)
• Gaillardia (Blanket flower)
• Butterfly Weed (Asclepias tuberosa)
• Yarrow (Achillea millefolium)
• Blue Flax (Linum perenne)
• Black-eyed Susan (Rudbeckia hirta, in naturally lean soils)
• Bachelor’s Button (Centaurea cyanus)
• Corncockle (Agrostemma githago)
• Dianthus (Cheddar pinks or maiden pinks)
• Wild Lupine (Lupinus perennis, adapted to sandy soils)
• Blazing Star (Liatris spicata)
Carnivorous plants
Carnivorous plants are adapted to nutrient-poor, acidic soils and rely on trapping insects for nutrition. Avoid compost for:
• Venus Flytrap (Dionaea muscipula)
• Pitcher Plants (Sarracenia spp.)
• Sundews (Drosera spp.)
• Butterworts (Pinguicula vulgaris)
Other plants that thrive in low-fertility soils
• Heaths and heathers (Erica and Calluna spp.)
• Rock garden plants (like Saxifraga and Armeria)
• Broom (Cytisus scoparius)
• Catmint (Nepeta spp.)
• Edelweiss (Leontopodium alpinum)
• Sea Thrift (Armeria maritima)
• Ornamental grasses (Such as blue fescue and little bluestem)
General rule of thumb
Plants native to dry, rocky, or sandy regions often prefer lean soil conditions. Over-fertilizing or using nutrient-rich compost can result in excessive foliage growth at the expense of flowers, leggy or weakened stems, or even root rot.
For gardeners wanting to grow these species, amending soil lightly with sand, perlite, or grit instead of compost is often the better approach.
Adapting our compost to low-fertility soil
Here are some practical ways to adapt Deep Roots Project’s high-fertility compost to create a lower-fertility soil:
1. Mix with leaf mulch (1:1 Ratio) Leaf mulch, made from shredded or decomposing leaves, is low in nutrients but rich in organic carbon. Mixing compost with leaf mulch:
• Dilutes the nutrient density.
• Adds texture and drainage.
• Mimics natural forest soil, ideal for wildflowers and woodland ornamentals.
2. Mix with sand (1:1 ratio) Sand is an inert material that provides excellent drainage and aeration. Combining compost with sand:
• Reduces nutrient levels.
• Creates soil structure for succulents, herbs, and Mediterranean plants.
• Prevents water-logging for plants sensitive to wet roots.
• Use coarse builder’s sand, not play sand, to ensure proper drainage.
3. Mix with existing yard soil (1:1 ratio) Gardeners can create a custom soil blend by mixing compost with the natural soil in their yard:
• Balances the high fertility of compost with the lower-nutrient properties of native soil.
• Maintains a sense of "local" soil for native plants.
• Encourages a gradual increase in soil health while staying lean.
4. Mix with topsoil from a garden center (1:1 ratio) Topsoil is often a basic, minimally amended soil available at garden centers. Combining compost with topsoil:
• Provides a balanced medium with moderate fertility.
• Works well for general-purpose planting.
• Offers a cost-effective option for larger projects.
5. Add drit or dravel (Optional 1:1 or 1:2 ratio with compost) Grit or fine gravel is another way to dilute fertility and improve drainage:
• Ideal for alpine plants, succulents, and drought-tolerant species.
• Helps mimic rocky or sandy soil conditions.
• Prevents root rot in plants sensitive to excess water and nutrients.
6. Let compost age before mixing: Letting compost sit and age (e.g., in a corner of the garden) naturally reduces nutrient content as some nutrients leach out with rain:
• Combine aged compost with native soil or mulch.
• A great option for gardeners looking to “weaken” compost without additional materials.
7. Use smaller amounts of compost in the nix (e.g., 1:2 or 1:3 ratios) For plants particularly sensitive to nutrient-rich compost, use less compost:
• Mix 1 part compost with 2 or 3 parts sand, native soil, or other low-nutrient materials.
• Tailor the blend to suit specific plant requirements.
8. Incorporate sawdust or wood chips. Mixing compost with sawdust or finely shredded wood chips:
• Lowers fertility while adding organic carbon.
• Ideal for creating soil conditions that mimic forest edges or sandy woodlands.
• Works best with fully composted wood chips to avoid nitrogen lock-up.
9. Combine with peat moss or coconut coir. For a lightweight, low-fertility medium, mix compost with:
• Peat moss: Provides acidity and low nutrients, ideal for acid-loving plants.
• Coconut coir: Sustainable and similar to peat moss, with excellent water retention.
10. Layer instead of mixing. For plants that thrive in lean soils, gardeners can layer compost beneath a top layer of sand, mulch, or low-nutrient soil:
• Ensures roots can access nutrients gradually.
• Keeps the surface lean, mimicking natural conditions.
How to find more details
Get more details on plants not on our list from Google, books and by contacting the Chicago Botanic Garden Plant Information Service ((847) 835-0972 or plantinfo@chicagobotanic.org).You could also experiment with these methods based on your plants’ needs.
Questions, comments, suggestions? We’d love to hear from you! If you need a quick answer to a gardening question give us a call or send a text. We are here to solve your gardening problems. Please call OR text our Customer Service team at 708-655-5299 OR send an email to: support@deep-roots-project.org.
Happy Gardening!
By following the Deep Roots Project’s transformational gardening methods through the seasons, you will create a thriving, nutrient-rich garden that supports both your plants and the soil. See the full list of our Grow Your Own Food blog posts. Each post is assigned ”tags” which are under the post title.
Deep Roots Supports Gardeners
We provide our gardeners with the best products for success – like cedar raised beds, microbe-rich compost and microbe-rich worm castings. Check our online store. Always talk to our customer support team before placing your order online. If you need help or have a question contact us at support[at]deep-roots-project.org and 708-655-5299.
Deep Roots online store
See our online store for details about prices, ordering and delivery of raised beds, planter boxes, microbe-rich compost, worm castings, leaf mulch and more. We don’t sell traditional soil, since we use 100% compost as our growing medium. Our online store has 2 sections – (1) raised beds and planter boxes and (2) compost, worm castings, fertilizer.
Please contact our customer support team before placing an order online so we can assist you with the details and answer your gardening questions. You can pay by credit card on the store or by check.
(708) 655-5299 and support[at]deep-roots-project.org
Gardening connects you to the Earth. Our community connects you to each other.
Please leave your cell phone number when you sign up for our eNewsletter, if you want text message announcements now and then.
Donations help us provide organic kitchen gardening education to individuals, organizations, and entire communities. Thank you in advance for contributing to our community and for sharing our website and blog with friends and family.

Cover Crops in Raised Beds
Cover crops are an effective way to improve soil health, suppress weeds, and provide other benefits to a raised bed food garden.
Cover crops are an effective way to improve soil health, suppress weeds, and provide other benefits to a raised bed food garden. By choosing the right cover crop for your growing conditions, planting at the right time, and following good maintenance practices, you can enjoy a healthier and more productive garden. Whether you are an experienced gardener or just starting out, incorporating cover crops into your raised bed garden is a great way to maximize the benefits of this popular gardening method.

Our favorite is mustard
What are cover crops?
Cover crops, also known as green manure, are plants that are grown to cover and protect the soil. They are usually planted between crops, one bed per year or during the off-season. Although traditional organic gardeners till the cuttings into the soil, we never use tilling in transformational gardening. Cover crops can include legumes, grasses, or a mixture of both.
Why use cover crops in raised beds?
• Improved soil health: Cover crops can help to improve soil structure, nutrient cycling, and organic matter content. They can also help to reduce soil erosion, improve soil aeration and improve water infiltration.
• Weed suppression: Cover crops can help to suppress weeds by shading the soil and competing with weeds for nutrients and water.
• Pest and disease management: Some cover crops can attract beneficial insects, such as pollinators and predators of garden pests. They can also help to reduce the incidence of soil-borne diseases.
• Nutrient management: Cover crops can help to scavenge nutrients from the soil that might otherwise be lost, and then return those nutrients to the soil when their cuttings become mulch.
How to use cover crops in raised beds
Choose the right cover crop: Select a cover crop that will thrive in the growing conditions of your raised bed garden. For example, if you have a sunny bed with well-draining soil, you might choose a cover crop like clover or buckwheat. If you have a shadier bed with heavier soil, you might choose a cover crop like oats or rye.
Timing: Determine the best time to plant the cover crop based on the growing season and crop rotation. In general, it is best to plant cover crops in the fall, after the summer crops have been harvested, or in the early spring before the summer crops are planted.
Planting: Broadcast the cover crop seed evenly over the soil surface, and then gently rake the soil to cover the seed. Be sure to follow the recommended seeding rate for the particular cover crop you are planting.
Maintenance: Water the cover crop as needed to ensure good germination and growth. If the cover crop becomes too tall, cut it down to prevent it from going to seed and becoming a weed.
Don’t till in the dead cover crop cuttings. Follow the ”no till, no dig, no pull” rule. Instead cut it down at soil level and use as a mulch on top of the soil. If the cuttings are more that 6” long cut them up.
Making mulch: Mix other clipping and straw into the cover crop cuttings.
Succession planting: After the cover crop has been tilled into the soil, you can plant your summer crops. If you are using a cover crop in the fall, you may need to plant a winter cover crop to protect the soil during the winter months.

Microbial Revolution in Soil Health
At Deep Roots Project, our “Transformational Gardening” approach, based on cultivating thriving soil microbial communities, is about more than just growing plants—it’s about creating a thriving ecosystem within the soil itself.
We’re transforming the way we think about gardening by placing the health of soil microorganisms front and center. We use 100% microbe-rich compost as soil and microbe-rich worm castings (worm poop) as fertilizer. Both are teeming with healthy microorganisms that feed and support our plants.
Why Microorganisms Matter
Healthy soil is the foundation for healthy plants, and the secret lies beneath the surface. Microorganisms - bacteria, fungi, and other tiny invisible critters - form symbiotic relationships with plant roots, providing essential nutrients that plants can’t access on their own. This interaction is key to plant nutrition, resilience, and overall health.
In just one gram of soil, there can be millions to billions of microbes, depending on the soil's condition. There are tens of thousands of species of soil micro-organisms that do a vast number of nature's tasks. The microbe expansion continues every year and every planting. Let’s enable the trillions of microflora (microbes and fungi) in our gardens to feed our plants for us.
These microscopic helpers feed on organic matter and transport nutrients to plant roots in a form that plants can efficiently use. The soil microbes and plants engage in a mutual aid pact—plants feed microbes through root exudates, and microbes, in turn, nourish the plants.
Microbe-Rich Soil: The Foundation of Success
Deep Roots uses a combination of 100% microbe-rich compost as our “new soil” and microbe-rich worm castings as our fertilizer to foster this microbial life. Our compost is crafted using a “thermophilic” process, where heat-loving microbes break down organic matter (plant waste and manure), creating nutrient-rich aggregates that provide both nutrients and structure to the soil. This process also eliminates weed seeds and pathogens, setting our compost apart from many commercial options.
Worm castings (worm poop), a cornerstone of our method, supercharge the soil with even more microbial life. These castings, produced from worms fed primarily on organic livestock bedding (straw and manure), are added when planting seedlings and seeds. Fish emulsion can also be applied throughout the season to provide short-term boosts of organic matter, stimulating microbial populations and helping plants thrive.
Key Principles of Our Approach
1. Cultivating thriving soil microbial communities: Creating a thriving ecosystem within the soil itself is more important than growing your plants. Although the specifics for growing each veggie or herb is important, it is secondary to the task.
2. No till, no dig, no pull rule: Tilling and digging disrupt the delicate fungal and bacterial networks that have built up in your soil. Instead of pulling plants out by the roots, cut them at the soil level, leaving the roots to decompose and feed the soil microbes. Root crops are the exception to this rule. For most plants, this method preserves soil structure and microbial health. No till rule blog post.
3. Biodiversity is essential: We encourage planting a variety of vegetables, flowers, and herbs together in raised beds, which boosts microbial diversity and makes the garden more resilient against pests and diseases. The greater the variety of plant roots, the more microbial interactions occur beneath the surface. It also makes it harder for pests to find their favorite plants. But make sure that large plants don’t block sun from the smaller plants. Biodiversity blog post.
4. Grow in raised beds: We highly recommend growing in raised beds and not growing in the ground. The most important benefit is that with raised beds YOU choose the soil rather than accepting the soil you have in your yard. Raised beds allowed Deep Roots to start using a completely new kind of soil – 100% microbe-rich compost.
5. Use 100% compost as the growing medium: All composts are not equal. Highest microbe density is in compost made with a natural “thermophilic” (microbe generated heat) process in giant piles at a local farm. Deep Roots sells microbe-rich compost that is powerful and gentle. Many of the bagged commercial soils contain lumber industry waste (a cheap “organic” ingredient) without essential nutrients and microbes. Our compost is certified for food growing by Organic Materials Research Institute (OMRI) and by the U.S. Composting Council (USCC).
6. Adding organic matter regularly: Every fall and spring before planting a new crop spread 2 inches of compost over your raised beds and containers. See our post Putting Your Bed to Bed (for the winter). Add a half to a whole cup of worm castings to seedling holes and short seed furrows. Adding worm castings around plant stems during the growing season is optional. These materials decompose slowly, providing a steady source of food for the microbes. Avoid "miracle" solutions like compost teas, which may offer little benefit compared to simply adding microbe-rich compost directly to the soil. Planting seeds and seedlings blog post.
7. Managing compaction and moisture: To protect the air and water balance that microbes need, avoid compacting your soil. Permanent pathways and mulching help keep the soil structure intact, allowing oxygen to reach the microbes. Additionally, maintain proper soil moisture through mulching and regular watering, but be careful not to over water, as microbes need both air and water to thrive. And never walk on your soil

A Paradigm Shift in Gardening
Transformational gardening requires a shift away from conventional gardening techniques. Instead of focusing on the individual needs of plants, we focus on nurturing the soil. When we feed and protect the microbial populations in the soil, the plants grow naturally strong and healthy.
In conventional gardening, there's often an over-reliance on fertilizers and commercial soils that don’t support microbial life. Our method encourages you to move away from these products and instead focus on building a living soil ecosystem. Avoid bagged soils that contain decomposing wood chips, which consume nitrogen needed by plants. Instead, choose microbe-rich compost that fosters microbial health.
Nurturing Microbes for Soil and Plant Health
At Deep Roots Project, we know that the secret to a thriving garden lies not in what you see above the ground but in the microbial universe beneath it. Our methods emphasize growing soil first and plants second, using the natural power of microbes to create sustainable, vibrant gardens.
By focusing on these principles—no-till practices, biodiversity, 100% compost as soil, and proper soil care—you can unlock the true potential of your garden. Let’s work with nature to build a healthier, more resilient world from the ground up.
Happy Gardening!
••••••••••••••••••••••••••••••••

Prevention and Control of Powdery Mildew
Understanding which plants are prone to powdery mildew and why others are resistant can help you make informed decisions about what to plant in your garden and how to manage those that are susceptible. By choosing resistant varieties and maintaining good cultural practices, you can minimize the impact of powdery mildew in your garden.
Understanding which plants are prone to powdery mildew and why others are resistant can help you make informed decisions about what to plant in your garden and how to manage those that are susceptible. By choosing resistant varieties and maintaining good cultural practices, you can minimize the impact of powdery mildew in your garden.
Prevention of Powdery Mildew
Choose Resistant Varieties: Select plant varieties that are resistant or less susceptible to powdery mildew.
Proper Spacing: Ensure adequate spacing between plants to improve air circulation, which helps to reduce humidity levels around the foliage.
Watering Practices:
Water plants at the base, avoiding overhead watering, which can increase humidity and promote mildew growth.
Water early in the day to allow moisture on the plants to dry before evening.
Soil Management:
Keep the area around plants clean and free of debris, as organic matter can harbor the fungus.
Use well-draining soil to avoid excess moisture, which can contribute to mildew growth.
Mulching: Apply mulch around the base of plants to retain soil moisture and prevent splashing of water onto the leaves, which can spread spores.
Regular Monitoring: Inspect plants regularly, especially during periods of warm, dry weather followed by high humidity. Early detection can help prevent the spread.
Removal of Powdery Mildew
Prune Affected Areas:
Remove and destroy infected leaves, stems, or flowers as soon as you notice them.
Dispose of the infected plant material in the trash, not in compost, to prevent spreading the spores.
Natural Remedies:
Milk Spray: Mix 1 part milk with 2 parts water and spray the affected plants. Milk has natural anti-fungal properties.
Baking Soda Solution: Mix 1 tablespoon of baking soda, 1 teaspoon of liquid soap, and 1 gallon of water. Spray this solution on affected plants to kill the mildew.
Fungicides:
Edible Plants: Apply an organic fungicide, such as neem oil or sulfur-based products. These are effective and safe for edible plants.When treating edible plants, especially those you will soon harvest, prioritize non-toxic, organic solutions like milk sprays, neem oil, or baking soda. Chemical fungicides should be used with caution, ensuring they are safe for food crops.
Ornamental Plants: While you can use the same organic methods, you have more flexibility with chemical treatments since there’s no concern about consumption. For severe cases, you may need to use a chemical fungicide, but ensure it’s labeled safe for the specific plants you're treating. However, still consider the environmental impact and safety, particularly if the ornamental plants are near edible gardens or frequented by pets or children.
Improve Air Circulation:
Thin out the foliage to allow better airflow around the plants, which can help reduce the humidity that powdery mildew thrives on.
Ensure plants are not overcrowded.
Maintain a Dry Environment:
Avoid watering in the evening to reduce the amount of time plants stay wet, as mildew thrives in humid, dark conditions.
Increase sunlight exposure if possible, as powdery mildew is less likely to thrive in direct sunlight.
Washing Off Powdery Mildew
If you want to preserve as many leaves as possible, you can gently wash off the powdery mildew from the least affected leaves instead of removing them entirely. Choose a time when the plants are not exposed to direct sunlight, such as early morning or late afternoon. This prevents the leaves from getting sunburned after washing.
Prepare a mild solution using one of the following options:
Water and Baking Soda Solution: Mix 1 tablespoon of baking soda with 1 gallon of water. This helps to neutralize the mildew and prevent further spread.
Water and Dish Soap Solution: Mix a few drops of mild liquid soap (not detergent) with 1 gallon of water. The soap helps break down the mildew and makes it easier to wash off.
Water and Milk Solution: Mix 1 part milk with 2 parts water. Milk has natural antifungal properties and is gentle on the leaves.
Washing the Leaves:
Dip a soft cloth, sponge, or spray bottle into the solution.
Gently wipe or spray the affected leaves, focusing on the areas with visible mildew. Be careful not to scrub too hard, as this can damage the leaves.
If using a spray, ensure you thoroughly cover the affected areas, allowing the solution to sit for a few minutes.
Rinsing:
After wiping or spraying, rinse the leaves with clean water to remove any residue from the solution.
You can use a gentle spray from a garden hose or a watering can to do this.
Drying:
Allow the leaves to air dry naturally. Make sure there is good airflow around the plants to speed up the drying process and prevent further mildew growth.
Avoid watering the plants from above until the leaves are completely dry.
Follow-Up Care:
Monitor the leaves over the next few days. If you notice any new mildew spots, you may need to repeat the washing process.
Ensure the plants are in an environment with good air circulation and proper sunlight to help prevent future mildew outbreaks.
Plants Prone to Powdery Mildew
Powdery mildew is a common fungal disease that affects a wide variety of plants. Some of the most susceptible plants include:
Vegetables:
Cucurbits: Cucumbers, pumpkins, squash, and zucchini.
Tomatoes: Especially in humid conditions.
Peppers: Both hot and sweet varieties.
Beans: Particularly pole beans.
Fruits:
Grapes: Both wine and table varieties are prone to powdery mildew.
Apples and Pears: Especially in humid climates.
Strawberries: Can be affected under certain conditions.
Ornamentals:
Roses: Very susceptible to powdery mildew, particularly in humid environments.
Lilacs: Often affected, especially in areas with poor air circulation.
Zinnias and Phlox: Commonly get powdery mildew in gardens.
Begonias: Susceptible in both outdoor and indoor environments.
Trees and Shrubs:
Dogwoods: Particularly in shady, damp areas.
Oaks: Some species are prone, especially in moist conditions.
Maples: Certain varieties can be affected.
Proper Care and Maintenance: Plants that are well-cared for, with proper watering, fertilization, and pruning, are generally more resilient to diseases, including powdery mildew. Healthy plants can often fend off or recover from infections more effectively than stressed or neglected ones.
“Grow Your Own Food” blog posts
See the full list of our Grow Your Own Food blog posts. Each post is assigned ”tags” which are under the post title. If you need a quick answer to a gardening question give us a call or send a text to our customer support team – support[at]deep-roots-project.org AND 708-655-5299.
Deep Roots online store
See our online store for details about prices, ordering and delivery of raised beds, planter boxes, microbe-rich compost, worm castings, leaf mulch and more. We don’t sell traditional soil, since we use 100% compost as our growing medium. Our online store has 2 sections – (1) raised beds and planter boxes and (2) compost, worm castings, fertilizer.
Please contact our customer support team before placing an order online so we can assist you with the details and answer your gardening questions. You can pay by credit card in the store or by check.
(708) 655-5299 and support[at]deep-roots-project.org
Please leave your cell phone number when you sign up for our eNewsletter, if you want text message announcements now and then.
Donations help us provide organic kitchen gardening education to individuals, organizations, and entire communities. Thank you in advance for contributing to our community and for sharing our website and blog with friends and family.

Protection from the Squash Vine Borer
By following these instructions, you can effectively protect your squash plants from the squash vine borer moth and its caterpillar, ensuring a healthy and bountiful harvest. Trombocino squash is an Italian heirloom that provides it own natural protection against this pest because of it very hard lower stem.
By following these instructions, you can effectively protect your squash plants from the squash vine borer moth and its caterpillar, ensuring a healthy and bountiful harvest. Trombocino squash is an Italian heirloom that provides it own natural protection against this pest because of it very hard lower stem.
Summary:
Here are detailed instructions for protecting a squash seedling from the squash vine borer moth and caterpillar using the plastic cup method. A small plastic flower pot or plastic cup is placed around the root ball of a seedling before it is planted in the ground.
The bottom of the pot or cup must be removed with scissors. The side must be slit also so the pot or cup can be wrapped around the root. The cup is partially under the soil and partially above the soil. Bug netting can also protect the plant from the moth laying its eggs on or near the plant. The cup protects the lower stem from the caterpillar boring inside the stem.
Materials needed:
Small plastic flower pot or plastic cup
Scissors
Bug netting (optional)
Squash seedlings
Gardening trowel
Soil
Instructions:
Prepare the plastic cup or small flower pot:
Remove the Bottom: Use scissors to cut out the bottom of the plastic cup or flower pot. This creates an open cylinder that will allow the plant’s roots to grow into the soil.
Slit the Side: Make a vertical cut from the top to the bottom of the cup. This slit will enable you to wrap the cup around the root ball of the seedling.
Prepare the seedling:
Carefully remove the squash seedling from its nursery container, ensuring you keep the root ball intact.Place the cup around the root ball:
Gently wrap the prepared plastic cup around the root ball of the seedling. The slit should allow you to easily encircle the root without damaging it.Plant the seedling:
Dig a hole in your garden bed that is deep enough to accommodate the root ball and the plastic cup.
Place the seedling, with the plastic cup around its root ball, into the hole. Ensure that the cup is partially buried under the soil and partially above the soil. The buried part will protect the roots and lower stem, while the exposed part will prevent the squash vine borer moth from laying eggs near the base of the plant.
Secure the cup:
Firmly press the soil around the base of the plastic cup to keep it in place. Ensure that the cup stands upright and does not tip over.
The cup should protrude about 2-3 inches above the soil surface. This barrier will help protect the lower stem from the caterpillars boring inside.
Optional: apply bug netting:
To provide additional protection, you can cover the entire plant with bug netting. This will prevent the moth from reaching the plant to lay eggs.
Secure the netting tightly around the base of the plant, ensuring there are no gaps where the moth can enter.
Check regularly to ensure the netting is still secure and the plant has enough space to grow.
Regular monitoring:
Regularly inspect the plant for any signs of squash vine borer activity or damage. Look for small holes at the base of the stem, frass (sawdust-like debris), and wilting leaves.
If you notice any signs of infestation, take immediate action to remove the caterpillars manually and treat the plant with appropriate organic pesticides if necessary.
“Grow Your Own Food” blog posts
See the full list of our Grow Your Own Food blog posts. Each post is assigned ”tags” which are under the post title. If you need a quick answer to a gardening question give us a call or send a text to our customer support team – support[at]deep-roots-project.org AND 708-655-5299.
Deep Roots online store
See our online store for details about prices, ordering and delivery of raised beds, planter boxes, microbe-rich compost, worm castings, leaf mulch and more. We don’t sell traditional soil, since we use 100% compost as our growing medium. Our online store has 2 sections – (1) raised beds and planter boxes and (2) compost, worm castings, fertilizer.
Please contact our customer support team before placing an order online so we can assist you with the details and answer your gardening questions. You can pay by credit card in the store or by check.
(708) 655-5299 and support[at]deep-roots-project.org
Please leave your cell phone number when you sign up for our eNewsletter, if you want text message announcements now and then.
Donations help us provide organic kitchen gardening education to individuals, organizations, and entire communities. Thank you in advance for contributing to our community and for sharing our website and blog with friends and family.

Growing and Using Comfrey
Comfrey (Symphytum officinale) has been used for centuries in herbal medicine, but its use comes with significant safety concerns. The primary concern is the presence of pyrrolizidine alkaloids (PAs), which can cause severe liver damage and are potentially carcinogenic. (Searched 4 sites)
Comfrey (Symphytum officinale) has been used for centuries in herbal medicine, but its use comes with significant safety concerns. The primary concern is the presence of pyrrolizidine alkaloids (PAs), which can cause severe liver damage and are potentially carcinogenic. (Searched 4 sites)
Safe Uses of Comfrey
Topical Applications:
Wound Healing and Skin Conditions: Comfrey can be used safely on unbroken skin for treating wounds, bruises, sprains, and other minor injuries. It is often used in the form of poultices, salves, and ointments. However, it should not be applied to broken skin or used for more than 10 days in a row to avoid absorption of harmful PAs (Drugs.com) (SPICEography) .
Gardening:
Fertilizer: Comfrey leaves are rich in nutrients like nitrogen, phosphorus, and potassium, making them excellent for use as a natural fertilizer. The leaves can be steeped in water to create a liquid fertilizer or added directly to compost (Common Sense Home).
Unsafe Uses of Comfrey
Internal Use:
Ingesting Comfrey: Consuming comfrey, whether as a tea, in salads, or in other foods, is generally considered unsafe due to the risk of liver damage and other serious health issues. The PAs present in comfrey can accumulate in the liver and cause veno-occlusive disease, leading to liver failure and potentially cancer (Drugs.com) (SPICEography) .
Conclusion
While comfrey can be beneficial for certain topical applications and in gardening, it is not safe for internal consumption due to the high risk of liver toxicity and other serious health problems. It is always best to consult with a healthcare provider before using comfrey, especially if you have underlying health conditions or are taking other medications.

Swede Midge Fly Management
Suburban organic gardeners in Illinois usually protect their Brassica crops (kale, collards, cabbage, etc.) from cabbage moths and their caterpillars. But, brace yourselves for a new Brassica family pest challenge. The swede midge fly (Contarinia nasturtii), an invasive pest from Europe ,has begun wreaking havoc on brassica crops including also radish, horseradish, rutabaga, turnip, rapeseed (canola), arugula, bok choy and Chinese cabbage. Crops that are most damaged include common favorites such as broccoli, cauliflower, cabbage, kale, kohlrabi, collards and Brussels sprouts.
Suburban organic gardeners in Illinois usually protect their Brassica crops (kale, collards, cabbage, etc.) from cabbage moths and their caterpillars. But, brace yourselves for a new Brassica family pest challenge – the tiny Swede Midge fly. There are conventional toxic pesticide sprays that do control and prevent swede midge that we can’t use in our organic gardens. Deep Roots consulted with the Chicago Botanic Garden Plant Information Service about the best non-toxic solutions.
Protect Collards, Kale & Cabbage from Pests
The swede midge fly (Contarinia nasturtii), an invasive pest from Europe, has begun wreaking havoc on brassica crops. including radish, horseradish, rutabaga, turnip, rapeseed (canola), arugula, bok choy and Chinese cabbage. Crops that are most damaged include common favorites such as broccoli, cauliflower, cabbage, kale, kohlrabi, collards and Brussels sprouts.
Swede midge are very tiny lightweight flies that can spread long distances by the wind. Their life cycle is between May to October in Zones 5 and 6 (Chicagoland area). The first year or so of its presence often goes unnoticed, but un-recognized populations can quickly build up and devastate brassica crops. There are conventional toxic pesticide sprays that do control and prevent swede midge that we can’t use in our organic gardens.
Swede midge is a pest in many parts of the northeastern United States, including New York, Vermont, and New Hampshire. It has also been found in Minnesota, Illinois, and Wisconsin.

Understanding the swede midge life cycle
We expect the swede midge will find our collards kale and cabbage. Once the damage is visible there is no way to save the plant. Cut down the plant stem at the soil and put in the garbage – not the compost bin.
In the Chicago area, encompassing USDA Hardiness Zones 5b and 6a, adult swede midge (Contarinia nasturtii) typically begin to emerge from overwintering pupae in May . This emergence marks the start of their active period, which extends through October, during which they can produce multiple overlapping generations
The fly’s life cycle repeats about 5 times every growing season. Adult flies live for a few days, just long enough to reproduce and lay 2 to 50 eggs on the newest growth points of a Brassica host plant. The emerging larvae (maggots) feed by secreting digestive enzymes, damaging the plant’s growing points and causing deformities or preventing proper head formation.
After the maggots are well fed and fully grown, they dive into the top inch of soil to pupate – transform back into a fly. They emerge from the soil as adult flies within a week or two, depending upon soil temperature and moisture, and start the cycle over again. But if buried below 2 inches, the pupae can survive for two years and can emerge if digging or tilling brings them higher up at a later time.
Identifying swede midge damage

In the worst cases, damage to single-stemmed heading brassica crops such as broccoli, cauliflower and cabbage looks as if the plants have been pinched back, preventing a single large head from forming. Because feeding damage can vary greatly depending on where the larvae feed on the plant and on the stage of plant development, it can be confused with many other issues.
Eat the unaffected collard, kale and cabbage leaves
This method has been approved by the Chicago Botanical Garden Plant Information Service (847-835-0972). If a collard, kale and cabbage plant is infested with swede midge, you might still consider eating the unaffected leaves, but it's essential to take a few precautions. Make sure the leaves are thoroughly cleaned and cooked to minimize any potential risks associated with the infestation. Here are some steps to consider if you want to eat the unaffected leaves:
Inspect the whole plant: Carefully cut off any infected stems or parts.
Inspect the leaves: Carefully check the leaves for any signs of damage or presence of larvae. The larvae are very small and might not be immediately visible to the naked eye.
Wash thoroughly: Even if some leaves appear unaffected, wash them thoroughly in water, possibly with a mild soap solution, to remove any larvae or eggs that might be present.
Cook the leaves: Cooking can help ensure that any remaining insects or pathogens are killed. It's generally safer to eat cooked leaves than raw, especially if there's a chance they've been exposed to pests.
Monitor the plant: Keep an eye on the plant for further signs of infestation. If the infestation is severe, it might be better to remove and destroy the affected plant to prevent the pests from spreading.
Remove a plant without pulling the root in order to keep the healthy soil microbes in the soil. Not disturbing the soil as much as possible is a basic principle of our regenerative gardening method. Pull out the roots of only root crops like beets.

Recommendations for successful organic food harvest
Until agricultural scientists find an effective and simple way to organically and safely prevent or control swede midge. You won’t know if swede midge has already infected your soil before you plant. Deep Roots have suggestions for new growing seasons.
Protect a few collards, kale and cabbage plants with bug netting. See below details for a few options and links to videos.
It’s risky to buy seedlings from a garden center since they could be already infected by swede midge. Only buy them if they have been stored indoors.
DON’T grow Brassica crops this year. Substitute other leafy greens and veggies. Three suggestions
Grow regular spinach which must be started from seed. Best to plant the seeds in November.
Grow Red Malabar Spinach from seed indoors to give it a head start. This leafy green veggie doesn’t look like normal spinach, but has a similar taste. Unlike normal spinach, it grows well through the warm summer season. Plant it when you plant summer crops like tomatoes. It’s a vine that winds around any structure, trellis or plant nearby. Give it a big tall trellis.
Buy Swiss Chard seedlings at garden centers. It grows through spring and summer. Eat the leaves and the stems. We usually add the leaves to a salad and make hummus from the stems.
Beet greens look and taste like Swiss Chard. Direct sow the seeds in spring
Other veggies to try are:
Lettuce (various types, including romaine, butterhead, and iceberg)
Fresh herbs (cilantro, dill, parsley, chives, etc.)
Green onion
Leek
Chicory, Endive, Escarole, Radicchio
Fennel
French Tarragon
Asparagus
Celery

Make physical barriers with bug netting:
You won’t know until you try to grow Brassicas if your soil is already infected. If your soil is NOT already infected, physical barriers are a crucial defense mechanism. Cover your brassica plants with fine insect netting throughout the growing season. Place small groups of Brassica family crops under bug netting bags, or cover your whole bed with bug netting.
Contact our customer support team about buying bug netting bags and sheets from us. The bug netting page is not yet on our store.
Bug netting bags protect small groups of plants in a raised bed: Bags can be different heights. Learn more details in this video: Growing Georgia Southern Collards Greens about harvesting collard greens and protecting them with large 4 x 4 foot netting bags supported by garden stakes. Their system protects from cabbage worms and butterflies, since they haven’t yet been invaded by Swede Midge.
-Tall Brassicas (like kale, collards): Since these plants can grow 4 to 5 feet tall, use larger bug netting bags designed for big fruiting plants. Support the netting with 2-3 wooden stakes inside the bag to prevent it from resting on the plants and potentially damaging them. Use stones, wood or garden staples to hold down the bottom of netting against the soil.
-Short Brassicas (like cabbage): Use smaller bug netting bags suitable for their height. Or place sheets of bug netting on the plants supported by sticks or hoops made of bendable white PVC half-inch pipes, see our blog post Installing Hoops on Raised Beds.Bug netting on a cloth grow bag: Plant 2-3 collard plants in a cloth grow bag. Support the netting with a wooden stake or a wire hoop placed inside the bag to prevent it from resting on the plants. Put something soft at the top the stake so it doesn’t poke a hole in the netting,
Bug netting supported by hoops: Cover your entire bed with a sheet of fine bug netting supported by hoops. You can use various materials for the hoops. The hoops can be pushed into the soil or attached to the raised bed frame. Learn more details in this video: How to Make Hoops for Raised Beds (4 Ways) and see our blog post Installing Hoops on Raised Beds.
Bug netting attached to a hinged hoop house: Another option is to hinge a wooden rectangle to the top of your raised bed. Attach the hoops to the rectangle. Learn more details in this video: How to Build a Hinged Hoop House
Order Bug Netting and Bags from Deep Roots
You can order bug netting and bags from Deep Roots. We have not yet added an online store page for netting. To order call, text or email our customer support team – support[at]deep-roots-project.org AND 708-655-5299.
Other Brassica Family Pests
Please see our Brassica Family Pests and Diseases post for information about other Brassica family pests.
“Grow Your Own Food” blog posts
See the full list of our Grow Your Own Food blog posts. Each post is assigned ”tags” which are under the post title. If you need a quick answer to a gardening question give us a call or send a text to our customer support team – support[at]deep-roots-project.org AND 708-655-5299.
Deep Roots online store
See our online store for details about prices, ordering and delivery of raised beds, planter boxes, microbe-rich compost, worm castings, leaf mulch and more. We don’t sell traditional soil, since we use 100% compost as our growing medium. Our online store has 2 sections – (1) raised beds and planter boxes and (2) compost, worm castings, fertilizer.
Please contact our customer support team before placing an order online so we can assist you with the details and answer your gardening questions. You can pay by credit card in the store or by check.
(708) 655-5299 and support[at]deep-roots-project.org
Please leave your cell phone number when you sign up for our eNewsletter, if you want text message announcements now and then.
Donations help us provide organic kitchen gardening education to individuals, organizations, and entire communities. Thank you in advance for contributing to our community and for sharing our website and blog with friends and family.